First, click the apple icon on the menu bar and click System Preferences.
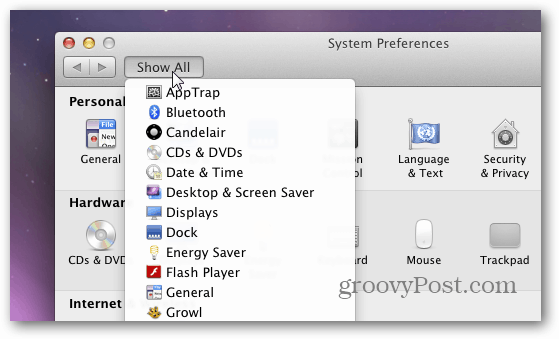
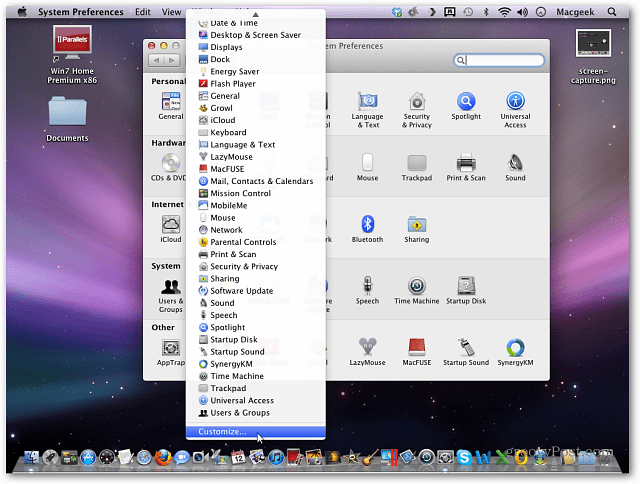
Now click and hold the Show All button until you see the menu appear. While still holding the mouse scroll down and select Customize.
Now you’ll see checkmarks next to each item in System Preferences. Uncheck the icons you no longer want to see.
When you’re finished, click Done. There you go. System Preferences is back under control.
If you want to unhide items, click Show All » Customize then recheck the items. Comment Name * Email *
Δ Save my name and email and send me emails as new comments are made to this post.


![]()
