What Does Exposure 4 add to Photoshop?
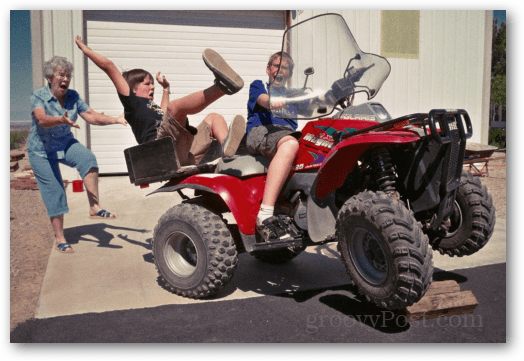
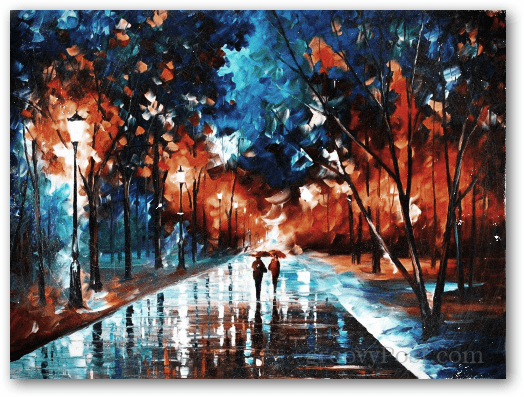
I think this is the most important question to answer about Exposure 4. When it comes down to it, the results are all that matter. And I have to say, after using the plugin for nearly a week and a half that I’m quite impressed. Back before digital cameras, we used film to take pictures. Then have it physically developed in order to see our pictures. The result was a huge variance in the way photos looked, and some pictures would randomly have light leaks and graininess. Quite recently, this natural look and feel that Alien Skin calls more “human” has gained popularity vs. crisp and clear digital photos. Leaving plain photo filters and the like in the dust, Exposure 4 can take a photo and make it appear that it was taken with a large variety of film types. It can accurately mimic processing, and age photos in a manner that doesn’t leave a “shopped” look behind. The end result is a photo that genuinely looks like it was captured with physical media, and developed with a human touch. But rather than continue trying to describe it, here’s take a look at what it can do. This first image is the original captured with a basic digital point-and-shoot camera. I haven’t done any image processing or applied any filters to it.
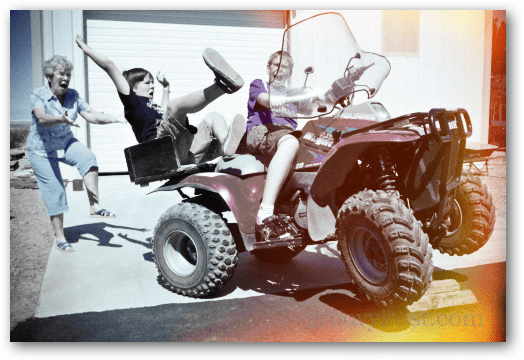
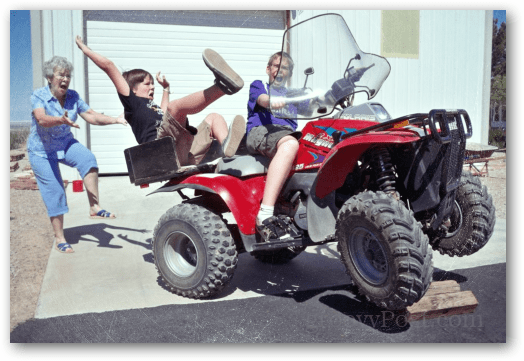
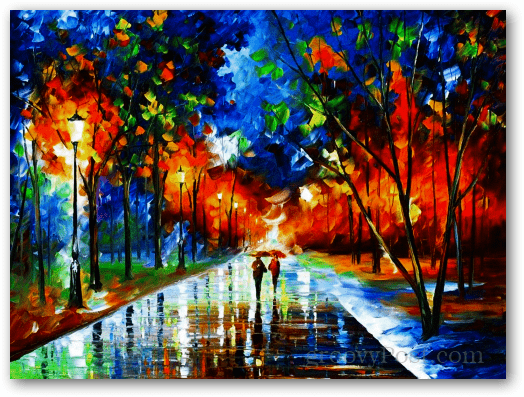
And here’s some examples of adjusting filters within Exposure 4. These and the following examples are all done explicitly within the Exposure 4 plugin without use of multiple layers or other tricks in Photoshop.
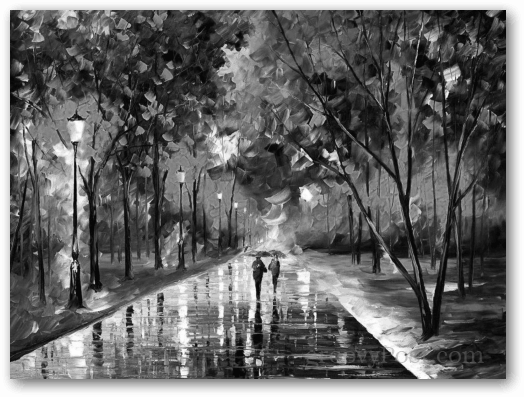
Here’s another original photo before editing, with this one I wanted to take something very colorful and see how Exposure 4 did transforming it to black and white.
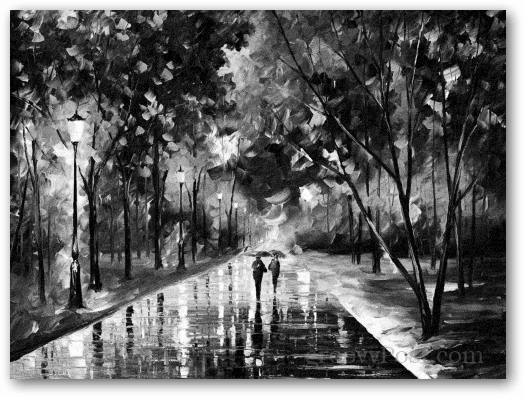
This next one is a direct desaturation in Photoshop just for comparative purposes.
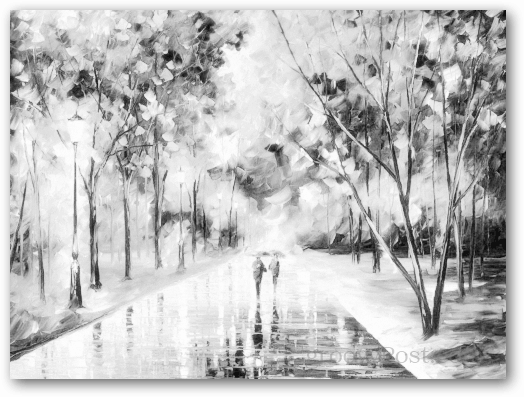
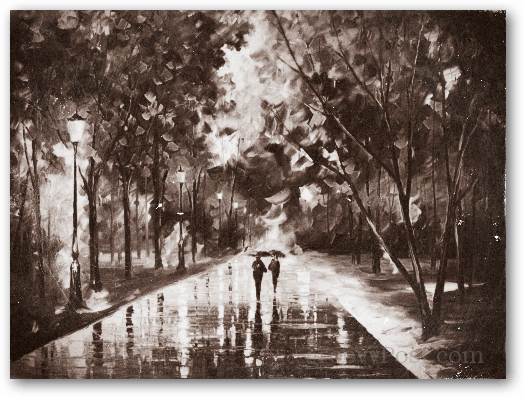
Now here are some adjustments using the filters within Exposure 4, note that all desaturation was done in Exposure 4.
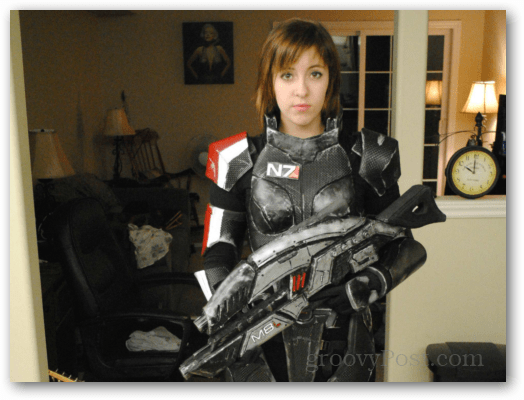
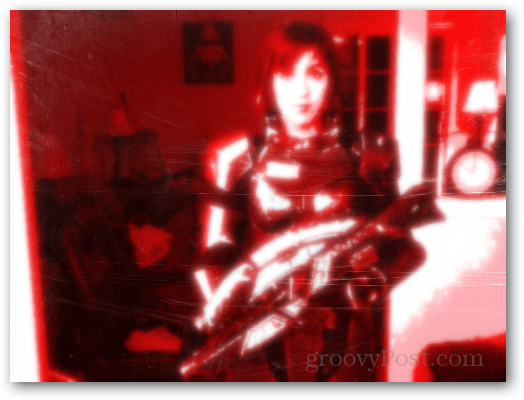
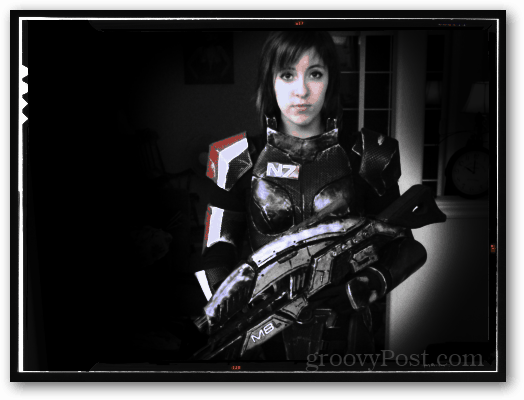
Finally, I wanted to test out Exposure 4 with portraits. This first one is the untouched original.
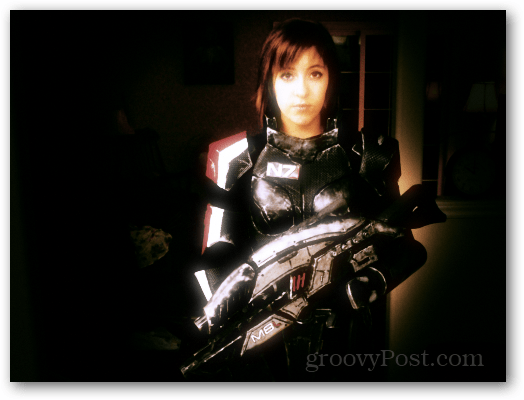
Now here is the same image after being processed through Exposure 4:
Working in Exposure 4 – The interface
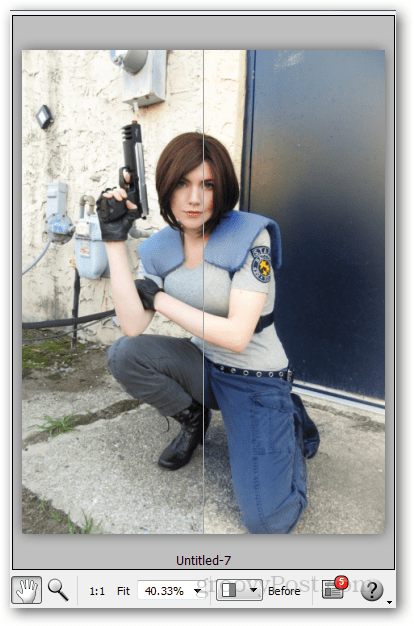
Exposure 4 appears in the Photoshop filter list once installed. It can also be run individually if connected to Lightroom. In either case, the interface is the same and I found it really easy to work with. The preview and original are shown in a double-window display, and at the same time, presets and tools are shown on either side. I’d like to next go over the tool interface and look at what options are available. When it comes to the presets, there are a lot to choose from, a couple hundred unless I’m mistaken. Many of these filter presets are tuned to mimic a particular type of film, and others are set to mimic film effects such as light leak or overexposure. They do so exquisitely, and I’ve found that often the most subtle filters can be the most effective in adding depth and emotion to an otherwise dry photo. Note that all the presets are is a specific combination of settings which can otherwise be completely customized and tweaked manually. The color tool in particular is where most of the magic happens, though not all of it. From the color tool filters can be instantly applied, changed in density, and modified in temperature. Saturation and CYMK balance can also be adjusted, or color can be desaturated entirely.
Like other Alien Skin plugins, Exposure 4 offers a split-view of the preview window. I find this feature especially useful here because it shows off the immediate effects of even the most subtle filters. Speaking of previews, this plugin is lightning fast. You can click on a different preset or setting and the preview will near-instantly be generated. You rarely see that kind of performance in other Photoshop filters. When it’s time to save changes, the plugin doesn’t overwrite existing layers, but rather it creates a new one on the top of your project. When opening and saving files I had a few gripes to deal with. One is Exposure 4’s inability to handle RAW files, but in particular a lack of compression for lossless quality TIFF files which ends up eating massive amounts of hard-drive space for batch edits. If you’re planning on a set of 1000 high resolution photos through Exposure 4, be sure to have a massive hard drive.
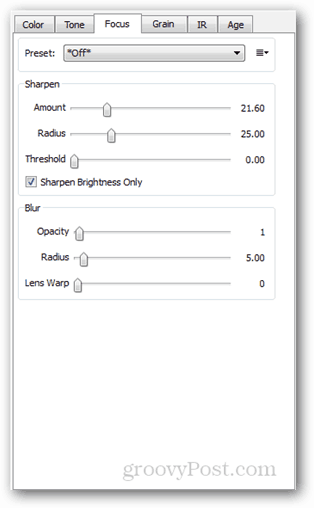
The Tone tab is another good place to adjust balance within the color channel. In particular I’m fond of the lighting balance available here. This tool allows you to brighten or darken particular shades of color within a photo and adjust split toning. Next to the Tone tab is the focus tab, which is where you can probably guess what happens. Image blur, or sharpen. It’s fairly basic but does offer a marginal amount of customization with a Lens Warp and Threshold setting.
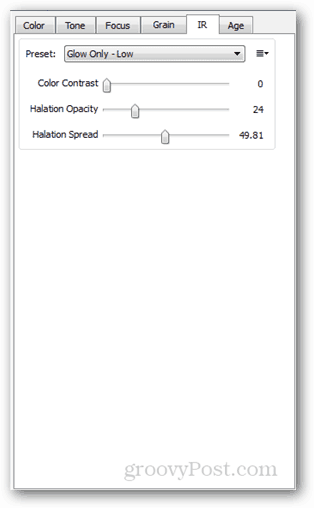
What physical film doesn’t have a hint of graininess to it? None that I can remember, and that’s where the Grain tool comes in. What I like is that grain can be specifically added to different shades in the image., and then totally customized and enhanced. There’s only so many different ways that natural film grain can look, but Exposure 4 covers all of them and adds in some that wouldn’t normally appear in a film. The tab next to Grain is the IR controls, which in particular is useful for adding glow in terms of contrast and halation. If you need to simulate an overly bright flash or light source, IR is a subtle route to go.
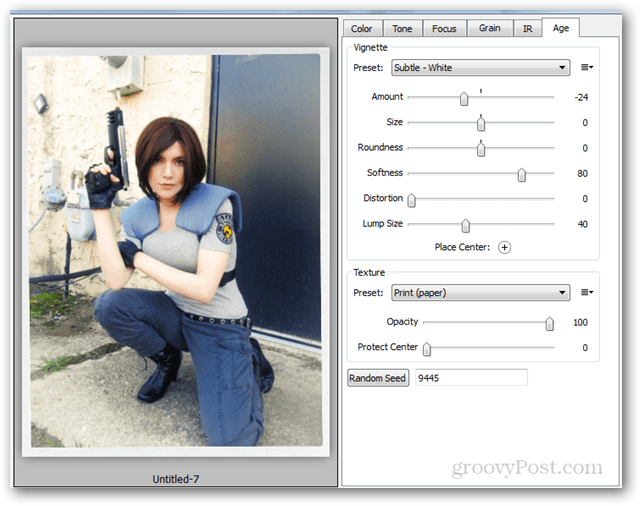
Last but certainly not least among Exposure 4’s features is its Age tool. This comes with a lot of presets, and each of these can be individually tweaked to add either dramatic or subtle effects to the photo. I found this to be one of the most useful features of the plugin. The aging tool can add texture that changes the look of the material the photo is printed on, supplement scratches and other physical damage, create borders, over process, and create vignette corners.
As a further example of the aging tool in Exposure 4 check out the “App store this way” sign in the photo below. The sign was plain until I processed it through Exposure 4 to add an aged appearance. It now blends in better, but you can still tell the sign will need additional work outside of the plugin to fit in with the photo properly.
Overall
Alien Skin’s Exposure 4 plugin for Photoshop is a luxurious addition to any Photographer’s arsenal of image processing tools. At first glance Exposure 4 reminded me of what can be done with Adobe SpeedGrade, but it has several advantages that come with the unfortunate lack of built-in mask support. Price will always be an issue, but I see the biggest drawback being that this software is really only designed for editing small sets or individual photos. Which, isn’t really a con – it just depends on your needs. On the favorable side it realistically modifies an image to give it the appearance of virtually any film or production process desired. Exposure 4 performs smoking fast, has tons of presets to choose from, allows for a ton of customization, and it is really easy to use. You can download a free trial of Exposure 4 and it’s $249 to purchase. If you’re a proffesional photographer or web designer, you’ll definitely want to check it out. After 15 days it will stop working unless you purchase a license for it, which presently costs $249. my name is Reel i would like detailed writen notes on how to use photoshop. Thank you in advance Reel Nixon Comment Name * Email *
Δ Save my name and email and send me emails as new comments are made to this post.


![]()
