Hello once again to all groovyReaders and Photoshoppers! Time to pick up from where we left off in terms of 3D in Photoshop. This time we’ll guide you through how you can make yourself your own 3D text. It takes just a few easy steps so let’s have a look.
Basic Photoshop 3D Text
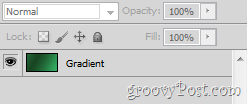
You can start with a gradient layer to serve as a nice background for your image. This will freshen it up and provide some good variety.
You can now go ahead and type in any text with the Type Tool. This text can be in any size, any language, any shape, and almost any font.
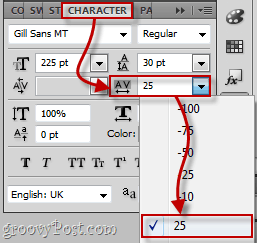
One thing that you should always have is additional space in between each individual letter. You can add some with the Character Window.
Converting your text to a 3D object
To convert your text to a 3D Object, go to 3D > Repoussé > Text Layer.
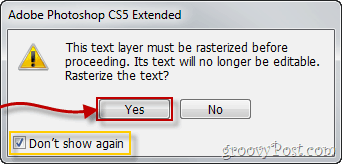
A warning message about rasterizing your layer will appear. You must do this in order to make your text in 3D, so go ahead and click Yes. If you want to, you can even tick the Don’t show again box – it will rid you of this annoying confirmation once and for all.
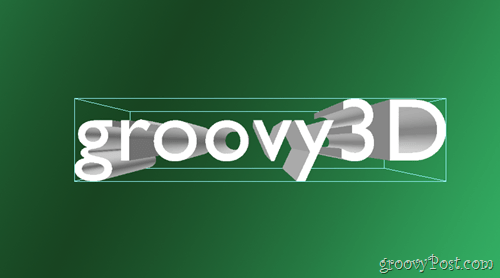
Your text will most likely look something like this:
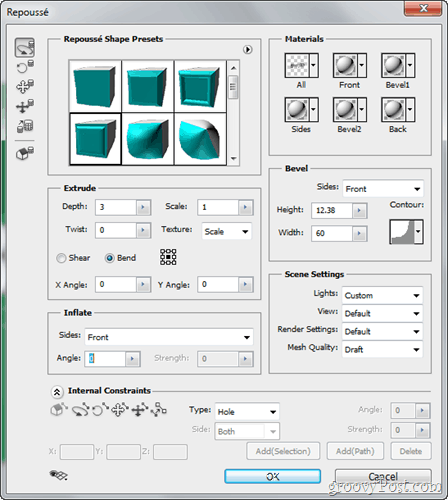
And the Repoussé configuration window that appears would most likely look exactly like this one:
Configuring your 3D text
The first thing you’d want to do to your text is switch to the Default rendering settings. You can do that from the Scene Settings section in Repoussé.
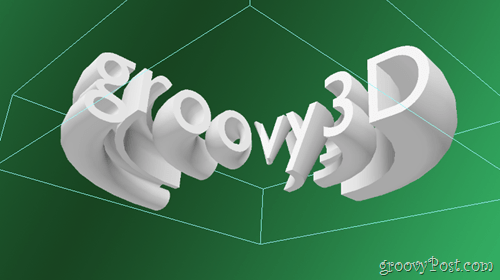
Now let’s begin editing our text by selecting a 3D preset from the Repoussé window. Personally, I chose the last one, but you can chose whatever you like.
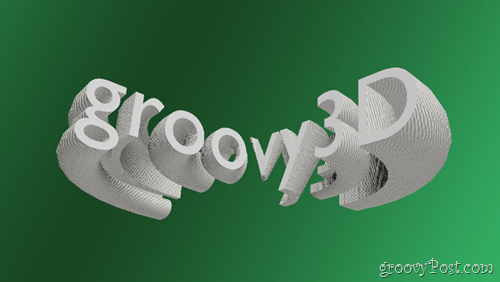
After selecting my preset, the text is instantly configured to my preferred shape:
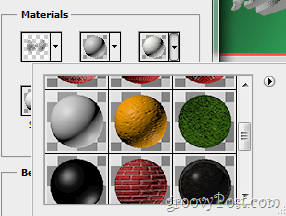
Another thing you might want to do is change the material your 3D text s made from. This is done by going over to the Materials section.
You can chose a lot of different materials and also select a different material for each side of your 3D object.
Those are pretty much the basics of customizing and configuring your text. Don’t hesitate to experiment with all the other sliders, options, drop down lists and more, inside of Repoussé.
Rendering for final output and saving
When you’re happy with your image, you should clear up the 3D text by rendering it for maximum quality and final output. Go to the 3D Panel and then chose Edit from the render settings.
Now simply tick the checkbox that says Render for Final Output and wait for your text to fully load (from 15 seconds to 30 minutes depending on resolution and computer performance). Once your text has fully loaded, hit the OK button and then do a quick keyboard shortcut of Ctrl+Shift+S to save and you’re all set.
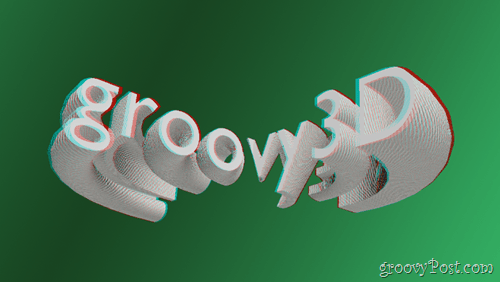
groovyTips – Use Photoshop with 3D Glasses
By the way, if you haven’t closed that 3D Render Settings window yet and also happen to have a pair of 3D glasses lying around, you should take a look at the bottom of the window where you’ll find a setting for 3D Glasses. Chose the type of stereo imagery you’d like to use and increase the Parallax and Focal Plane depending on your screen size, resolution and viewing angle.
Now you’re ready for a more real 3D experience!
That’s about it – keep it locked on for more tutorials and articles and and stay tuned!
Comment Name * Email *
Δ Save my name and email and send me emails as new comments are made to this post.


![]()
