Set Snagit to Print Screen
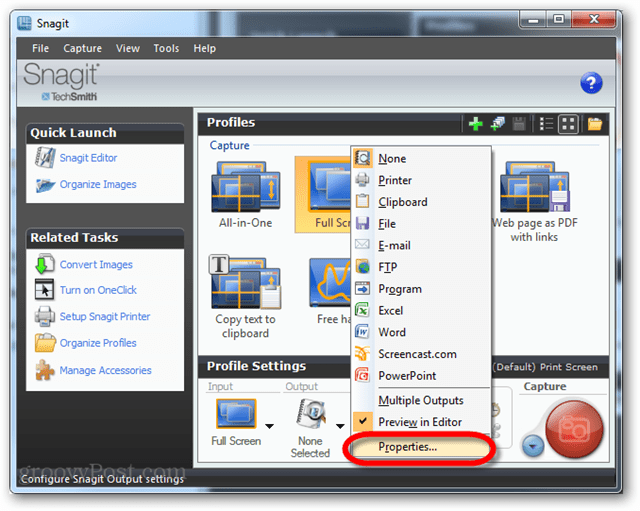
The first thing to do is to go into the Snagit Print settings and make sure it’s going to the right device. To do this, click the Output menu and select Properties.
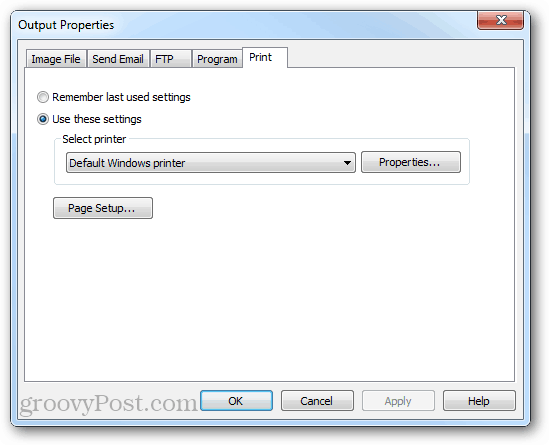
Go to the Print tab and then double-check the settings and make sure the printer is set up correctly.
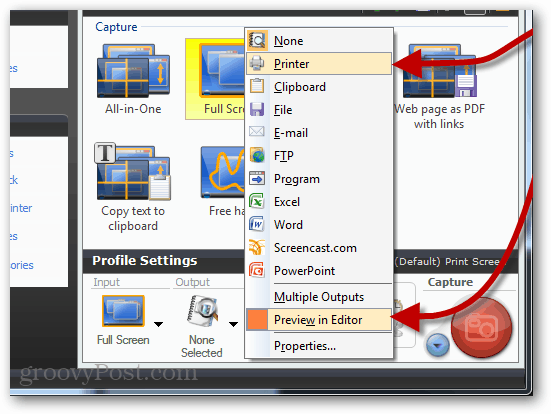
Next, there’re the capture/input settings. The basic way of doing this would be to set it to Full Screen. You could also set it to Active Window if you prefer just the program you are currently working into print.
Next setup the output, it needs to be set to the printer and the editor preview needs to be disabled.
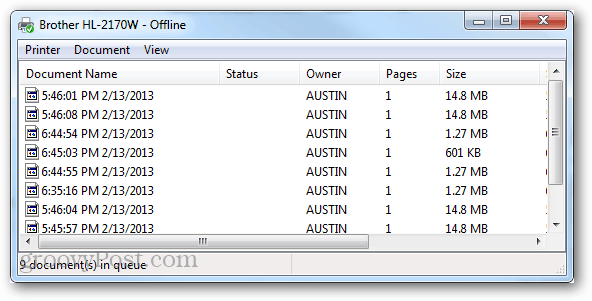
Now whenever you press Print Screen (unless you’ve changed the default capture key), Snagit will instantly send an image of your entire screen to the printer.
If you want to just take screenshots, without third party utilities, here’s how to take a screenshot in Windows 8. Comment Name * Email *
Δ Save my name and email and send me emails as new comments are made to this post.


![]()
