Note: At the end of this tutorial you can download a full collection of 17 presets all in one zip file.
Before we begin
Don’t own Photoshop? You can grab a copy of Photoshop from Adobe.com for as little as $9.99 a month. If you haven’t done so already, check out my “introduction” tutorials for Photoshop. In the ones I have linked below you will learn the basics and go through all the essential knowledge about Photoshop: All of our Photoshop tutorials Basics Guide Layers – Basics Layers – Advanced Tricks
Photoshop Presets and the Preset Manager
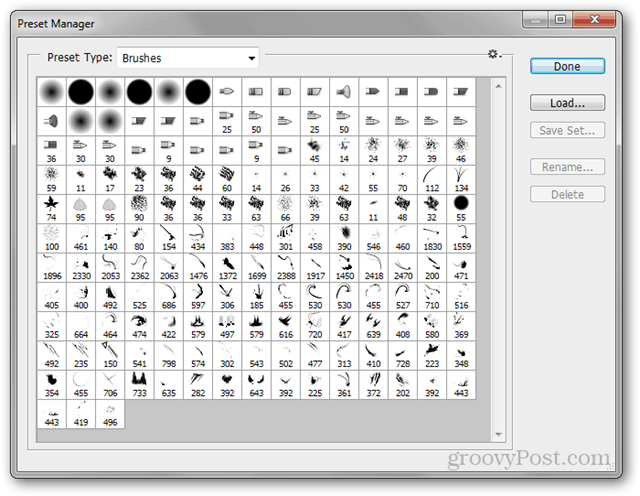
The Preset Manager is what you’re going to be using when it comes to importing and exporting presets. You can find it by going to Edit > Presets > Preset Manger.
The manager’s default view is Brushes. In this view it will display all brushes you have imported or made by yourself.
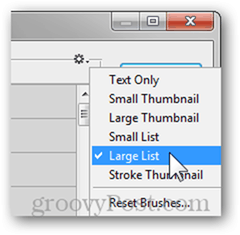
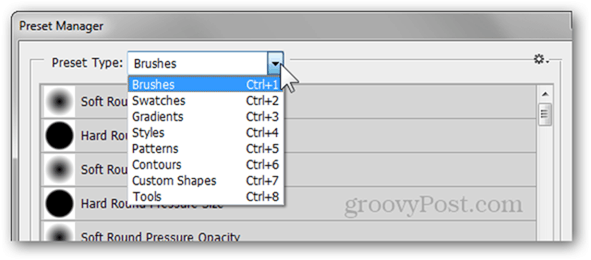
From the small gear located at the top right, you can chose a different display mode. My favourite is Large List, but feel free to check out the other ones as well. From the Preset Type dropdown menu, you can select all other presets you can view. Each one also has its own keyboard shortcut, as shown below:
The manager allows you to rearrange, rename, save separate sets and delete presets. It’s a much better way of organising your presets rather than manually pasting downloaded ones in the respective directories.
Brushes
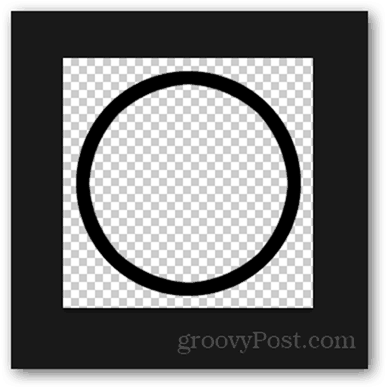
What are they? Brushes – the name speaks for itself. Simple tools for drawing, retouching, and a lot more. Whether you use Photoshop for drawing or not, you will notice that the newer versions feature brushes that come as close to the look of a realistic brush stroke as possible. How can I make one? Start by making a new document with an aspect ratio of 1:1. The larger the resolution, the more you will be able to scale the brush.
Use images, combine other brushes, or just experiment with full freedom until you get a brush that looks exactly the way you want it to.
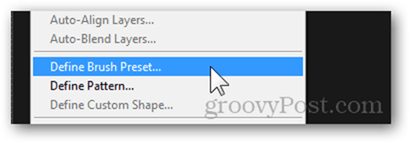
Press Ctrl+Ato select your whole canvas, and then go to Edit > Define Brush Preset.
You can give your brush a name and then press OK to save it.
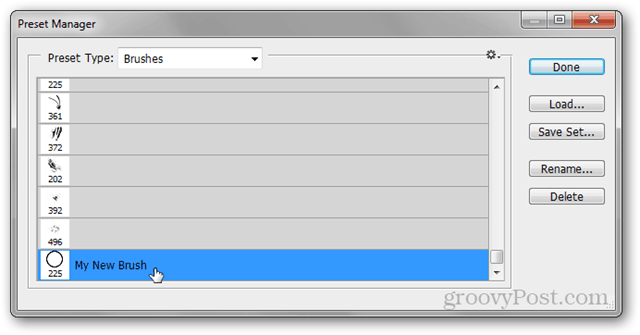
After saving, it will appear at the bottom of all your other brush presets.
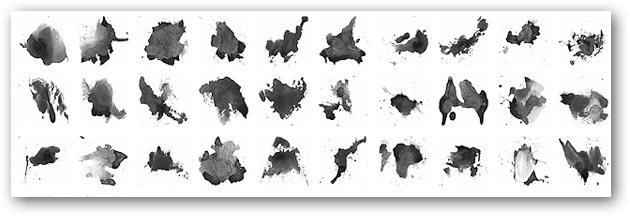
Here’s Some of the Presets I Use (links and sources) When making posters and other artwork, I really often include one of the brushes from the Watercolor Splatters by pstutorialsws.
For general work and drawing, I always keep going back to the Brush Professional Pack by Roman Melentyev.
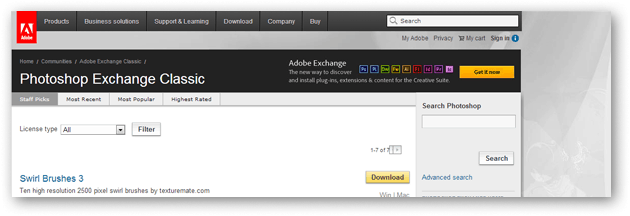
Finally, I want to share my own brushes or download brushes shared by others, I go to the official Adobe Photoshop Exchange where I can download tons of presets just by logging in with my Adobe ID.
Swatches
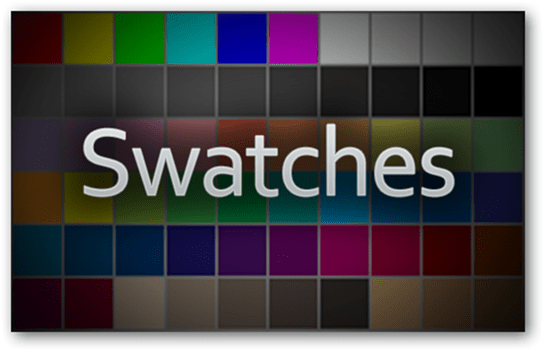
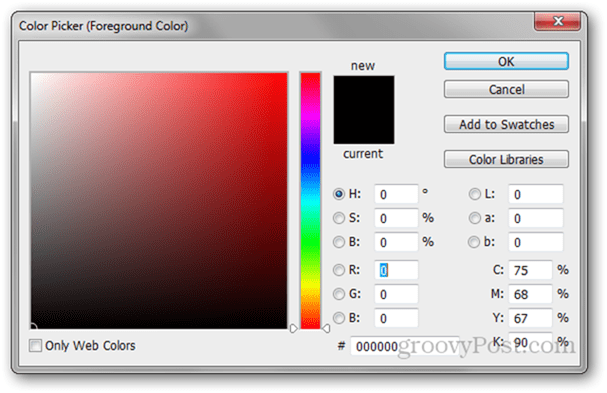
What are they? Swatches are quick colours you can pick up and use at any point in time while working in Photoshop. These are very useful and come in handy for designers who like working by a strict color scheme. How can I make one? Adding a color to your swatches is probably one of the easiest things in Photoshop. Open the Color Picker by clicking on either the Foreground or Background color.
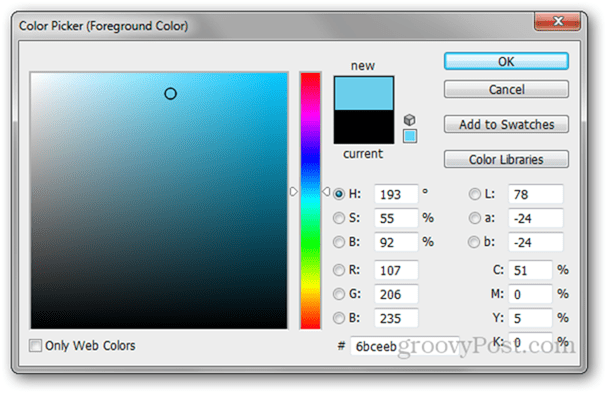
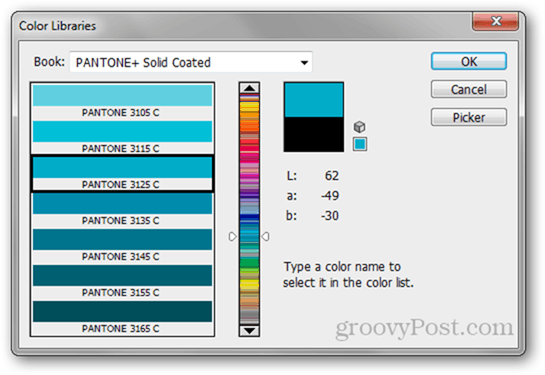
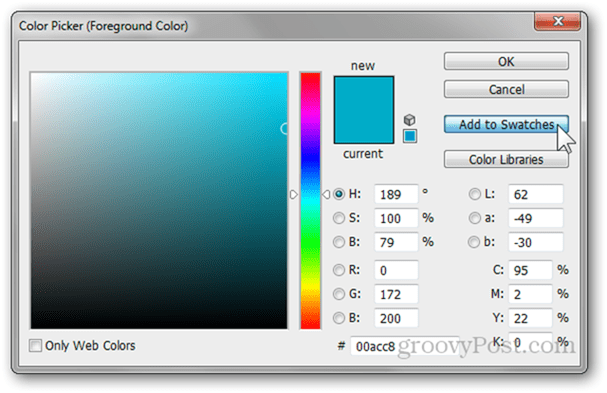
From here, you can play around and look for the specific color you would like to add.
After you’ve found the color, simply click the Add to Swatches button to the right.
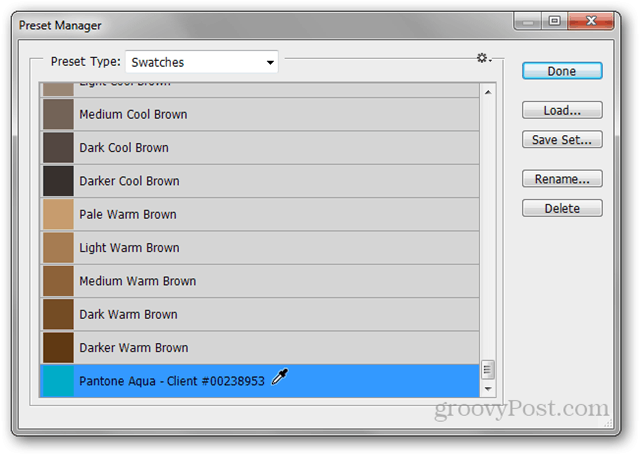
Again, you will be able to add a name to your color.
Then it will appear at the bottom of all your other swatches.
Which ones do I use (links and sources) I don’t use Swatches that often, so this set of 26 differently themed swathes from JustJaimee.com is all I need throughout any kind of work in Photoshop.
Gradients
What are they? Gradients are smoothly blended together colors. Photoshop has some built-in presets, but most of them are horrible and you’ll rarely use them. You’re best off downloading some from the internet or making some by yourself out of your swatches. How can I make one? To begin, chose the Gradient Tool from the Tools Panel or by pressing G. Now click inside the Gradient Preview from the Tool Properties bar.
From here, pick an editable gradient (for example – the third one)
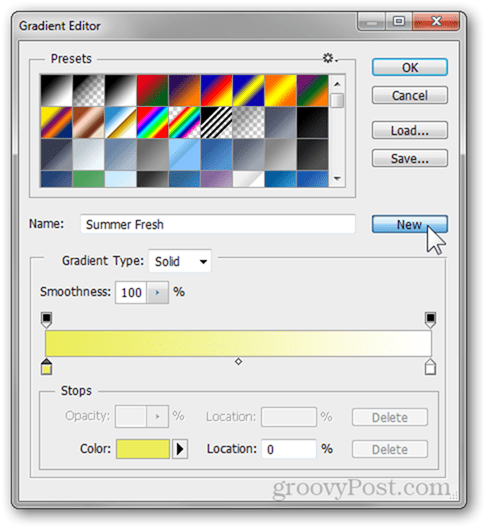
Click on each color head to change its color. You can change colors with the color picker or by using the eyedropper to sample off your swatches.
To save your gradient, edit its name and press the New button to save it.
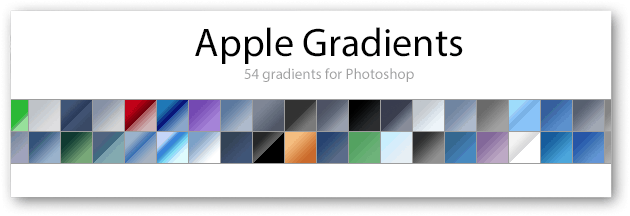
Which ones do I use (links and sources) There are as many Apple lovers as there are haters. There’s not denying Apple’s unique and stylish typography, however. The user mppagano helps us get closer to achieving it with his Apple Gradients.
As for background and general web design, I can’t live without this awesome Web 2.0 from dezinerfolio.com.
Styles
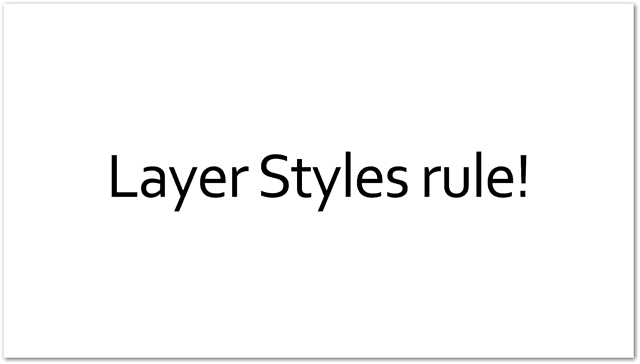
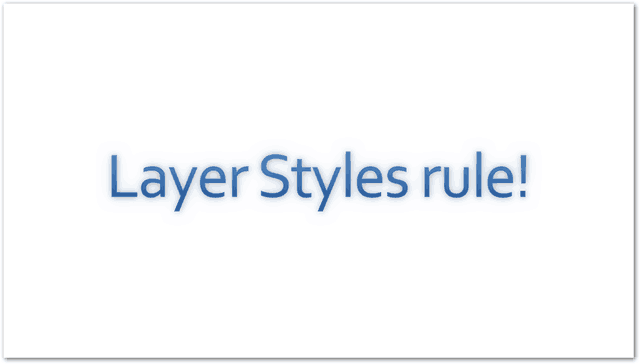
What are they? Layer styles combine all of the information about drop shadows, outer glow and all the other properties of a layer’s blending options. While it’s fun to fiddle around to find the specific look you’re going for, you don’t always have the time, which is why making templates can come in handy quite often. How can I make one? Start by making a simple document along with a layer on which you’ll be adding a style. Here’s my document:
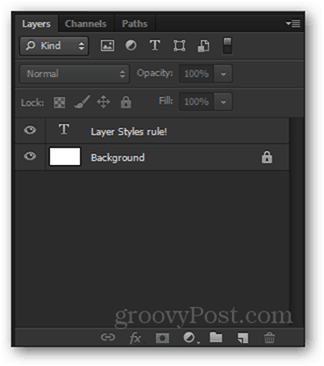
Along with the respective layers for it:
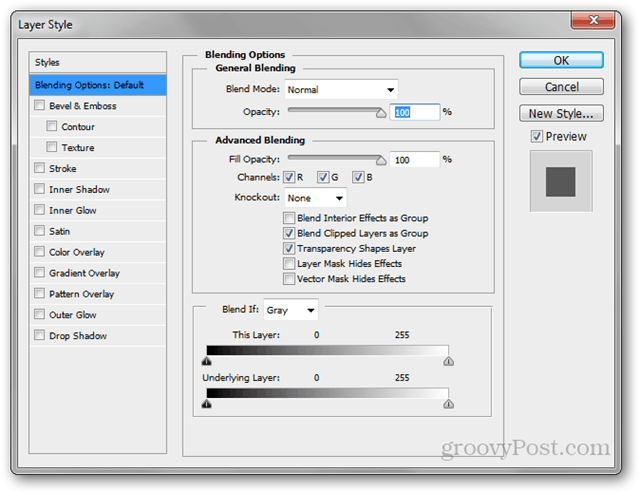
I’ll Right Click my Text Layer and pick Blending Options from the context menu to open up the Layer Styles window.
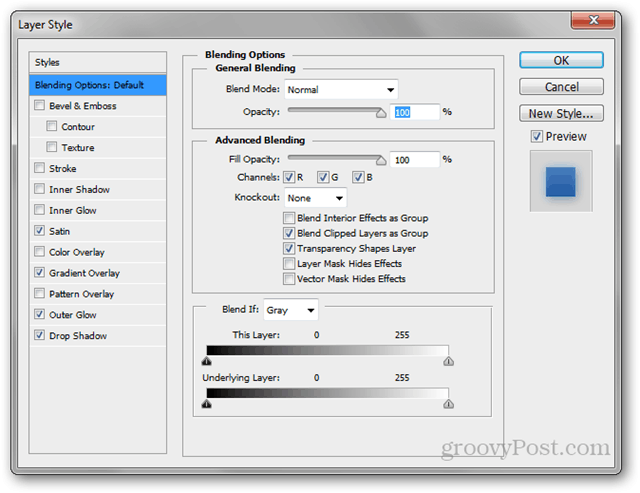
Notice the style preview checkbox to the right of the window. This allows you to view your style changes in real time. Here’s a quick example of a style I made:
And the real time changes that occurred to the actual layer:
To save my layer Style, I’ll just click the New Style button, located below Cancel.
I’ll give it a name and I’m all done.
Which ones do I use (links and sources) Similar to the Web 2.0 Gradients, the same website has some awesome web Styles as well, so check them out.
From time to time I also need to make a button or two for the sake of a better-looking website. This is where the max.designwalker.com Styles for Button Design come in handy.
Patterns
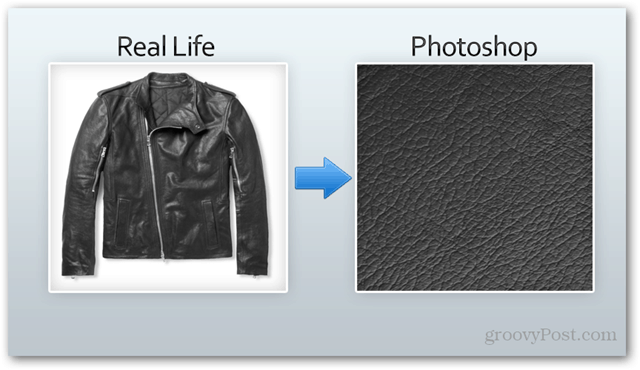
What are they? Similar to some other tools we already talked about, the name speaks for itself here. A pattern in Photoshop is the exact same thing you know from real life and that you see on clothing, furniture and more. Here are a few examples:
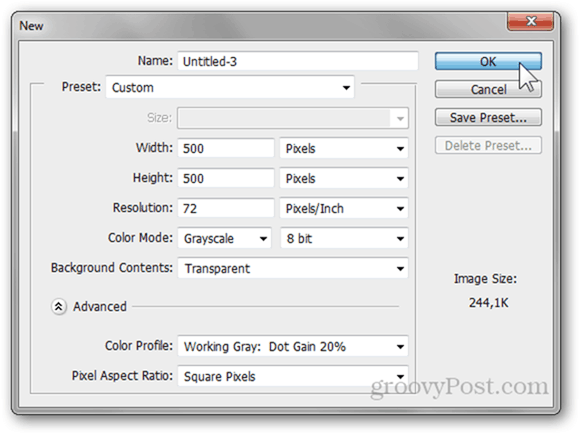
How can I make one? To make a pattern, start out with your desired dimensions. I will use a 1 by 1 document, 500 x 500 in resolution.
Now draw, paste or begin creating your pattern. Here’s the one I will be using:
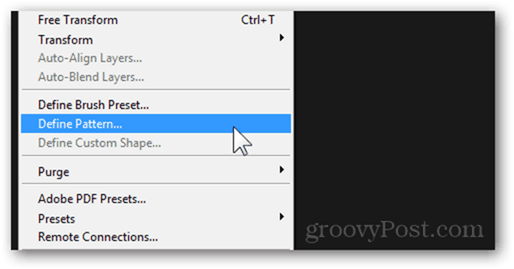
Once you’re done, press Ctrl+A to select the entire canvas and go to Edit > Define Pattern.
After you pick the name for your pattern, it saves and at the bottom of all of your other patterns.
Which ones do I use (links and sources) A cool pattern that I sometimes put into use in posters is the Seamless Corkboard Pattern from brusheezy.com.
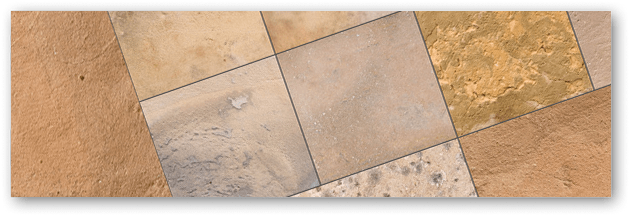
Same website, different uploader – these Sunny Sand Stone Textures can fly in to help you out in a designer emergency more often than you think!
Contours
What are they? Contours represent the input and output curve of a given Layer Style property. To get a better idea of how contours work, here is a GIF animation of different contours affecting a drop shadow:
How can I make one? While editing parts of a layer style that support contours (Drop Shadow, Outer Glow, etc.) find the Contours section.
From here, click on the contour icon to enter the Contour Editor.
Using this editor, you can create your own contours. The visual effect on the input and output ratio changes in real time, so you can keep an eye on the final effect on your image easily.
Do I actually use Contours? Nope. Not in the slightest. The included twelve Photoshop Contours are more than enough if I ever want to mess around with the I/O of an effect. Otherwise, this is a Photoshop feature I don’t find myself using too often. Some Photoshop experts and designers might look down on me because of this, but it’s just the way I’m used to working. I’d rather completely ditch a layer style than have to tweak its contours to try and make it look better. If you actually want to use contours, a good place to start would be Adobe Exchange.
Custom Shapes
What are they? Custom Shapes are vectors that you can place on your canvas for added flexibility. These work best if you think you might need to scale your image to a larger resolution in the future and don’t want to lose quality. How can I make one? Making a custom shape (or any kind of vector for that matter) usually happens in Adobe Illustrator. Luckily, provided you have a good high-quality image to start with, you can make the jump to vector in Photoshop as well. Start by loading your image.
Now press and hold Ctrl and click on the layer thumbnail to select the content of the layer.
Go to the paths panel and click on the Make worth path from selection button. With your path still selected, head over to Edit > Define Custom Shape. Add a name and you’re all set.
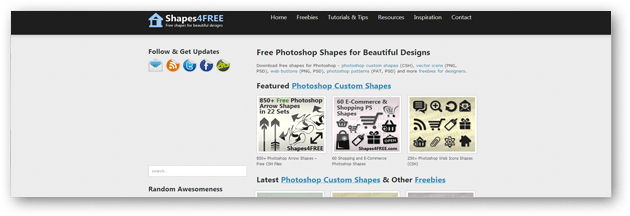
Do I actually use Custom Shapes? Very rarely. I prefer Adobe Illustrator for Vector graphics, but nonetheless, shapes4free.com should have you covered for any shape needs you might have.
Tool Presets
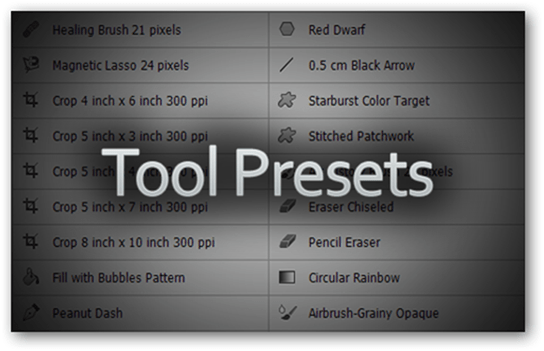
What are they? Each tool in Photoshop is customizable and configurable. However, remembering all of your different tool preferences can be a bit tricky. This is where Tool Presets come in. A tool preset is a tool along with all of its additional settings and with a custom name. How can I make one? As an example, I will use the brush tool. First, I’ll select it by clicking it from the Tools Panel or by pressing the B button on the keyboard.
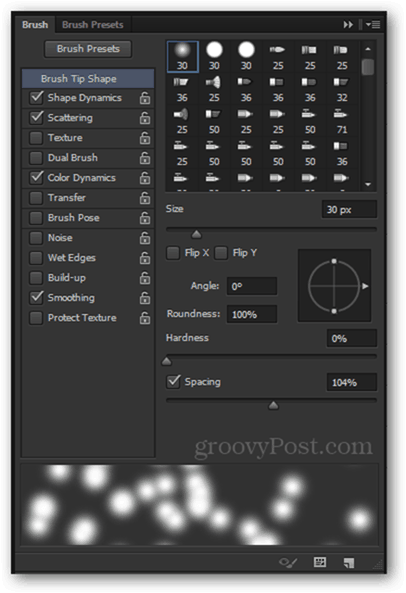
Now, using the Brush Panel, I can configure each and every detail of my brush.
To save all of my tool preferences, I click on the small arrow to the side of the tool icon in the top panel.
Followed by the small gear button and the New Tool Preset option.
To finalize, I can give my tool a name and I’m all set.
Which ones do I use (links and sources) I’ve looked in many places around the web, but I can never seem to stumble upon a good selection of Tool Presets. So the only thing I can give you is my own personal collection of 17 Tool Presets, including the history brush, gradient tool, crop tool and more.
Comment Name * Email *
Δ Save my name and email and send me emails as new comments are made to this post.
![]()

