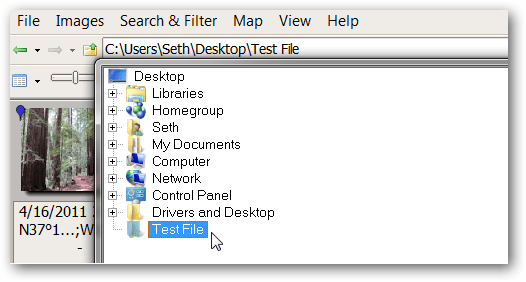
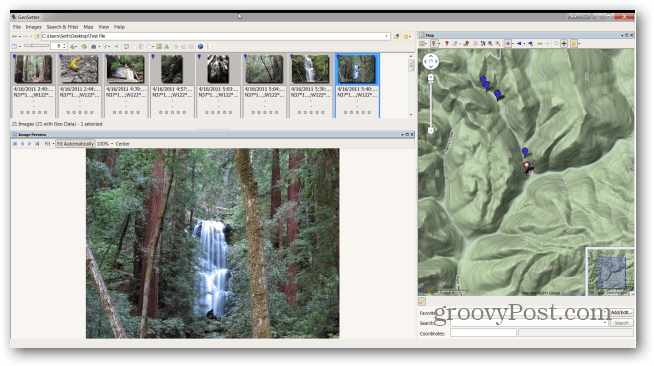
Following the instructions from the previous article, install GeoSetter with the correct settings. Then, add the folder containing your photos to the program by clicking Images » Open Folder.
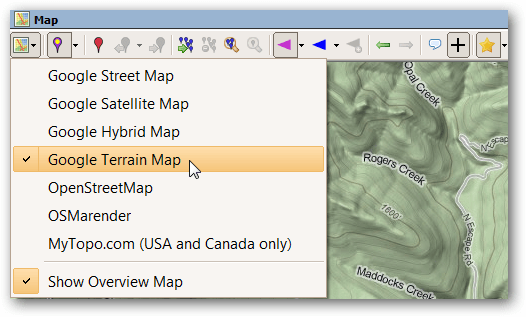
Find the folder in the navigator window and double-click it. Your geotagged photos will appear in the left pane. Clicking on a photo will bring up its location on the map in the right pane. Choose which map type you prefer by clicking on the Select Map Type button and choosing the appropriate map. Since these photos were taken hiking, the most useful map is the Google Terrain Map.
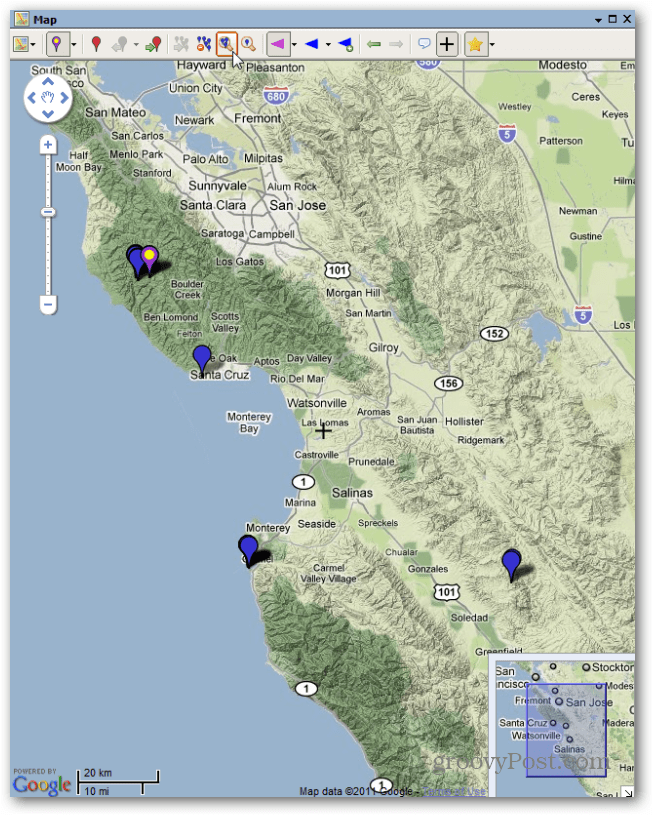
As you click through the pictures, the photo marker displayed on the map will change to match the photo location. If you would like to see all your photo locations at once, click the Show image positions on map button.
Then click the Zoom map to all image locations button. The map will zoom out, displaying the photo locations from the entire trip.
If you would like to view photo locations from only selected photos, select the photos in the left pane by holding Ctrl while clicking them. Once finished, click the Zoom map to all locations of selected images button. The map will zoom to show the location of the selected photos.
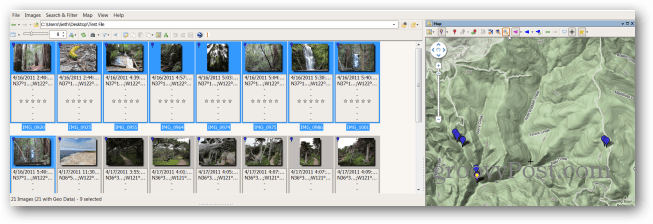
Feel free to resize the panes as you please by dragging the edge of the pane in the direction you would like. If you are running a multi-monitor setup, undock the Image Preview pane and display it on a second monitor for a full-screen view. Here is my favorite screen setup for viewing pictures and location data together.
Google Earth
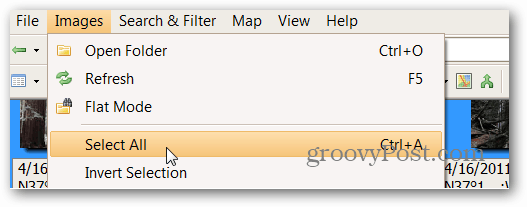
While these 2D views are great, a 3D view is even more impressive. GeoSetter offers a helpful tool for importing images into Google Earth for 3D viewing. In order to do so, install Google Earth on your computer. Next, select all the images by clicking Images » Select All.
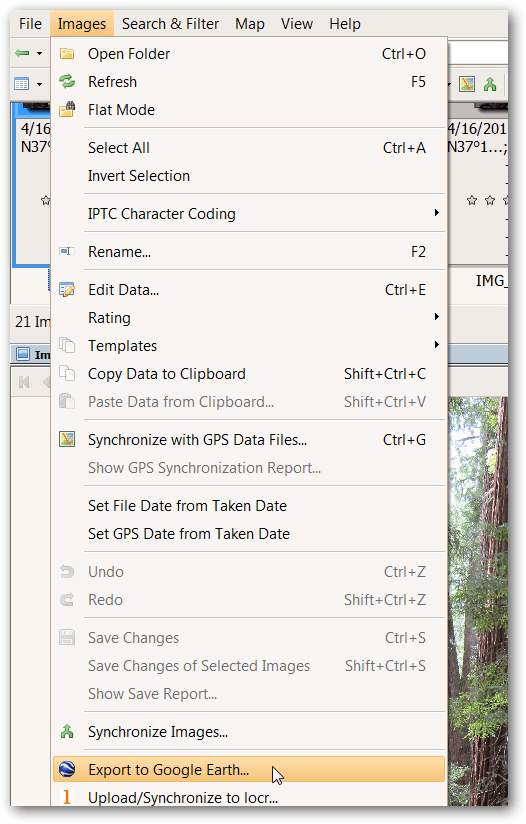
Next click Images » Export to Google Earth.
I enjoy having large thumbnails for Google Earth viewing, so I chose to increase the Thumbnail Size to 800. Try different sizes for different effects. Default settings are recommended for the rest of the options. Click OK.
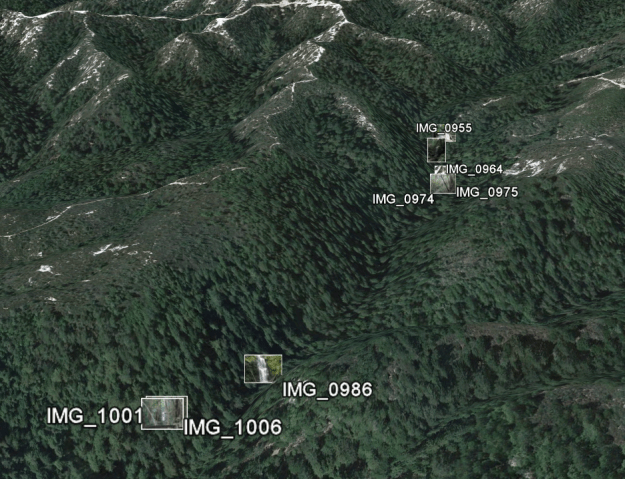
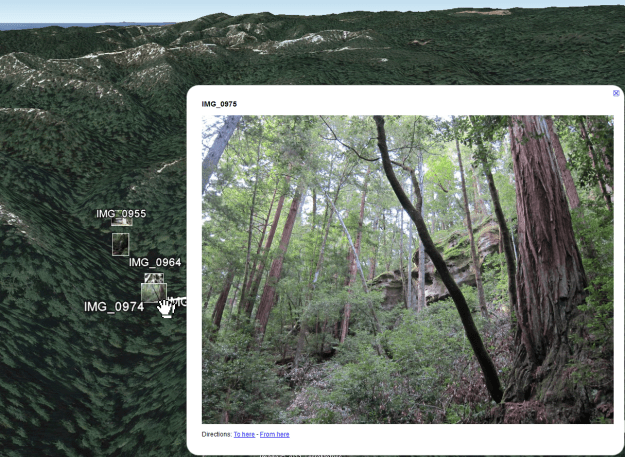
Choose a location for the Google Earth KMZ file. It is easiest to store it with the pictures for future reference. Choose a name and click Save. Wait for GeoSetter to finish processing the file, it may take a while. When it asks you if you would like to open the file with Google Earth, click Yes. Google Earth will open with the pictures placed on the 3D map, allowing for panning, zooming and seeing how the pictures fit with the landscape.
Click on a picture to bring up a larger version (why I chose the larger 800 size above).
Picasa
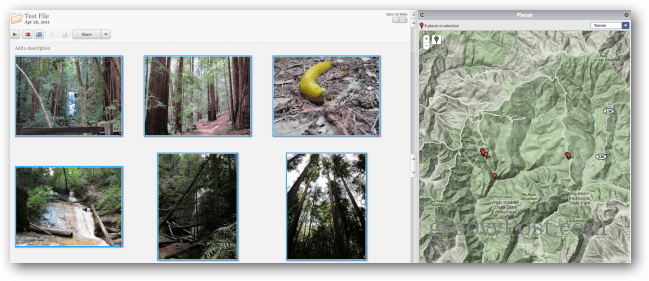
Another great way to view geotagged photos is with Google’s photo manager Picasa. Once Picasa is installed and has detected the folder holding your geotagged photos, click on the Show/Hide Places Panel button on the lower right hand part of the screen.
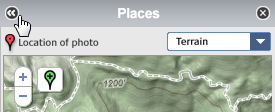
Resize the Places Panel by clicking on the double arrow in the Places Panel. Choose whichever map type you like from the drop-down list.
You can view the location of multiple photos by holding Ctrl while clicking the desired photos.
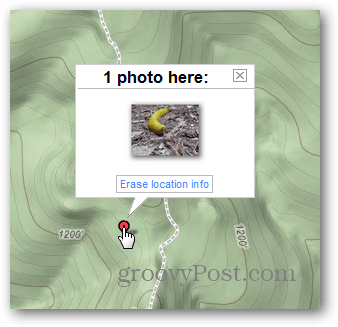
A great feature of Picasa is that it makes removing location data simple. To do so, just click on the photo marker on the map. Then click on Erase location info. The location data is then removed from that photo.
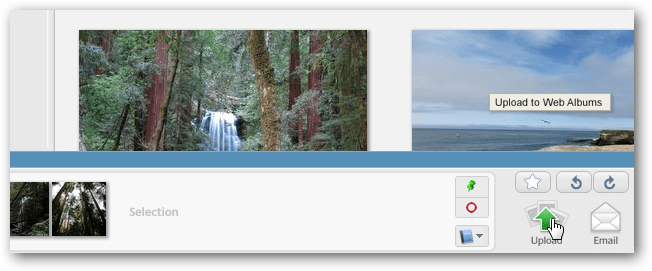
Geotagged photos can easily be shared by uploading them to Picasa Web Albums. As a somewhat obvious warning, anybody you share geotagged photos with will know where they were taken. Therefore, be careful with possible sensitive locations such as your home and work. As always, use common sense when sharing data. To upload an entire folder, click the Sync to Web button and sign into your Google account.
If you would rather just upload a few pictures, hold the Ctrl key while clicking the desired photos and click the Upload button.
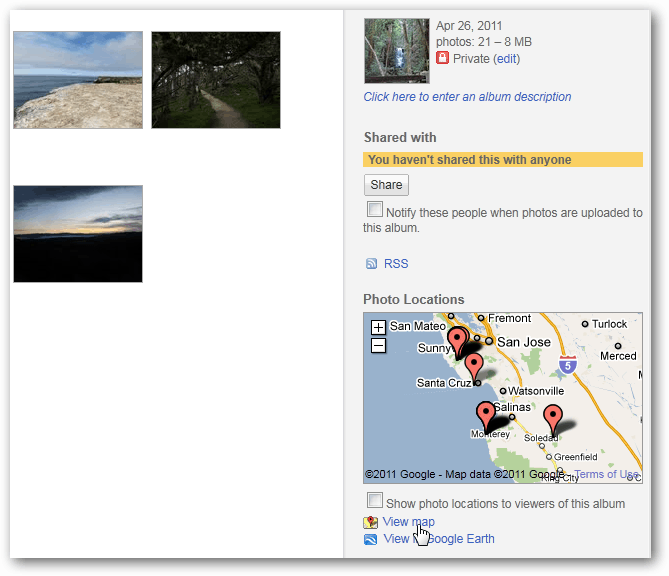
Once the photos are uploaded, the locations are displayed in a small map on the right side of the screen. If you would like to view a larger map, click on the View Map icon.
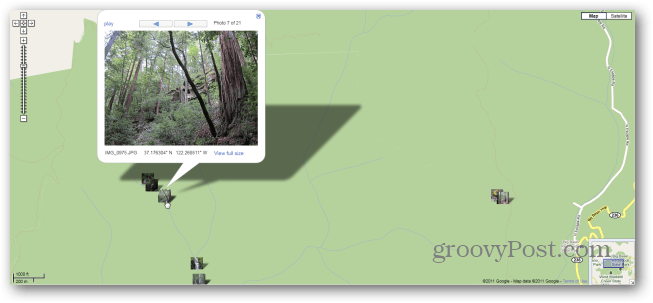
A larger map will open with the pictures displayed on the screen. Click on one to view a larger version of it. Currently, only the Map and Satellite versions of the map are available.
Part of the fun of geotagging is allowing photos to be viewed in their geographical context. These three tools will help you do just that. Do you know a way to VIEW in Picasa or Google Earth the image direction atribute, something like a vector? I´ve tried everything and it still does´t work. Thank you! Comment Name * Email *
Δ Save my name and email and send me emails as new comments are made to this post.

