Disabling an account allows you to preserve the users’ settings and files if you need to restore access to it later. Windows 11 provides a few different ways to disable an account using the Settings app or the more technical Computer Management tool. If you want to temporarily disable an account on Windows 11, follow these steps.
How to Temporarily Disable an Account on Windows 11
As we’ve mentioned, there are two methods for disabling an account on Windows 11 using the Settings or Computer Management tools.
Using Computer Management
To disable a user account with Computer Management on Windows 11:
Moving forward, the account you disabled will no longer be accessible to log in unless you restore access. However, the account is still available until it’s removed from the system.
Using Settings
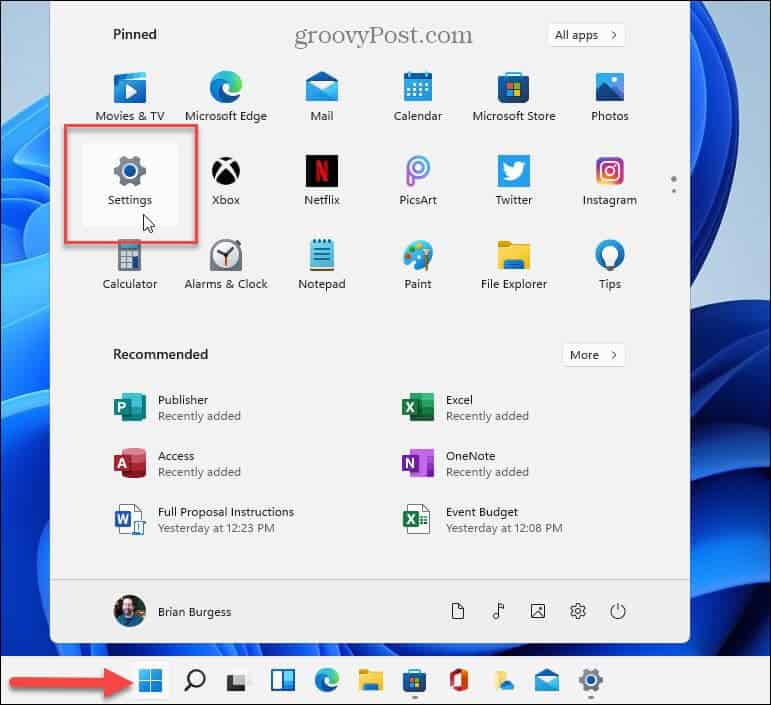
You can also temporarily disable Windows 11 accounts using the Settings app. Note: You can only use Settings to disable family accounts. It doesn’t work with Microsoft or Local accounts. To disable a user account via Settings: After following the steps, the family member will no longer be able to sign into their account. Instead, their account will no longer be visible on the sign-in screen.
Restricting User Access on Windows 11
Using the steps above, you can block user access temporarily on Windows 11. If you want the family member to have the ability to sign in in the future, go back into Settings or Computer Management and reverse the process. This only works if you have separate user accounts—add another user on Windows 11 if you don’t. If you want to personalize your own account, you can change your account name or consider changing your account picture on Windows 11. Comment Name * Email *
Δ Save my name and email and send me emails as new comments are made to this post.
![]()


