Open a blank document or any document that you want to add a screenshot to.
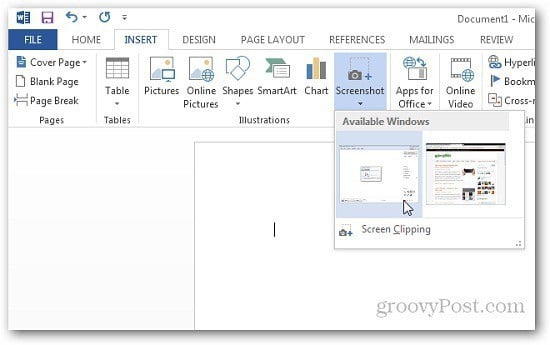
Now click the Insert tab.
In the Illustrations section of the Ribbon, click on Screenshot and it will show you more options. You can take screenshots of an open window or a selected region. While you have a window open that you want to take a capture of, just open Word 2013 and it will show it as a thumbnail under Available Windows. Click it, and it’s automatically pasted into your document.
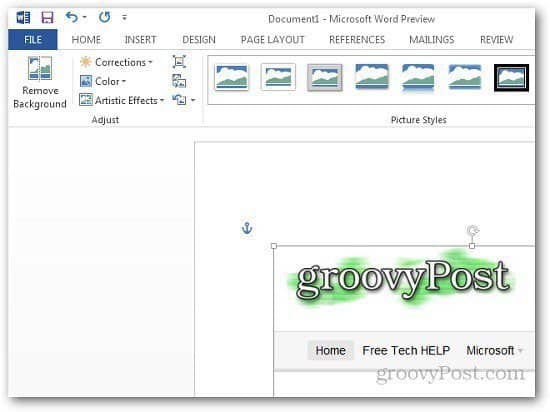
If you want to take a screenshot of a region, click on Screen Clipping and highlight the area you want to capture. It will capture the region and paste it directly in to Word which you can copy as well and paste it in other applications for editing.
This is a groovy feature if you need a quick screen capture when creating a document. Plus you don’t need to launch a third party application for basic shots.
Comment Name * Email *
Δ Save my name and email and send me emails as new comments are made to this post.


![]()
