You can install or set up Windows 8.1 with a local account only, but it’s not something that’s obvious for first time users. Switching over is actually easier than you’d think too.
Make Windows 8.1 a Local Account
Time to make the switch: Go to Settings > Change PC Settings > Accounts > Your Account. Under your name and email address click Disconnect.
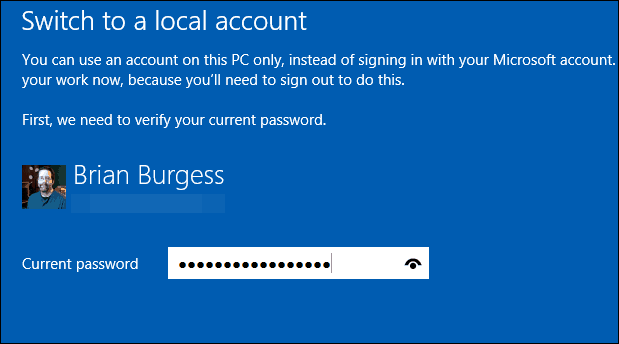
Next, for security, you’ll be prompted to enter in your Microsoft account password.
After that, type in a username, password, and hint for your local account.
Now you’ll get a final message letting you know what you’re giving up by going to a local account. Click Sign Out and Finish at the bottom of the screen.
Note: You need a Microsoft account to use several Microsoft apps and service, the Windows Store for example. You can look at apps in the store, but to install them, you’ll need to switch back to a Microsoft account. You’ll get a screen like the one below if that happens while using your local account. That will start a wizard to walk you through the process of switching back.
Personally, I set up all of my Windows 8 systems using a Microsoft account due to the benefits it provides. But if you don’t live in the Microsoft ecosystem, it’s good to know you can keep things local. If you’re going local, you might also want to check out these other helpful tips: Removed Synced Data from OneDrive (formerly SkyDrive) Hide or Disable OneDrive in Windows 8.1 Comment Name * Email *
Δ Save my name and email and send me emails as new comments are made to this post.


![]()
