Also, take a look at our article on how to clean install Windows 11.
Step 1. Configuring your computer’s BIOS*
Start by inserting your Windows 10 installation media into the PC — this can be a DVD or USB flash drive. If you haven’t created it yet, read our article on how to create a Windows 10 USB flash drive. Now restart the computer and enter the BIOS (F2, F9, F12, or Del on most PCs).
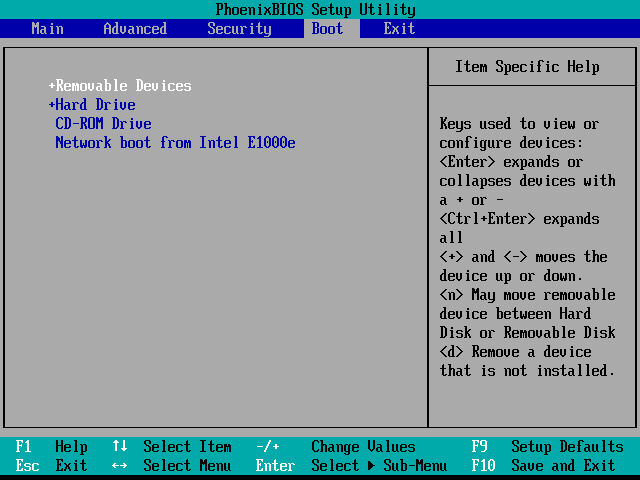
After pressing the correct key, navigate to the Boot section of the BIOS using the right arrow key.
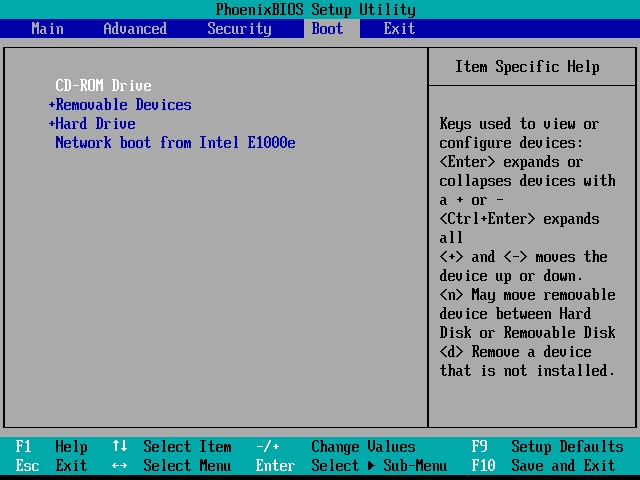
The controls of each BIOS are usually displayed at the bottom (unless you’re lucky enough to have a GUI BIOS – in which case you’ll be able to use the mouse to navigate). Use these to navigate to the device from which you will install Windows and place it at the top. I’ll be using a DVD, so I’ll place “CD-ROM Drive” at the top. If you use a USB drive, you should move “USB Device” or “Removable Devices” to the top.
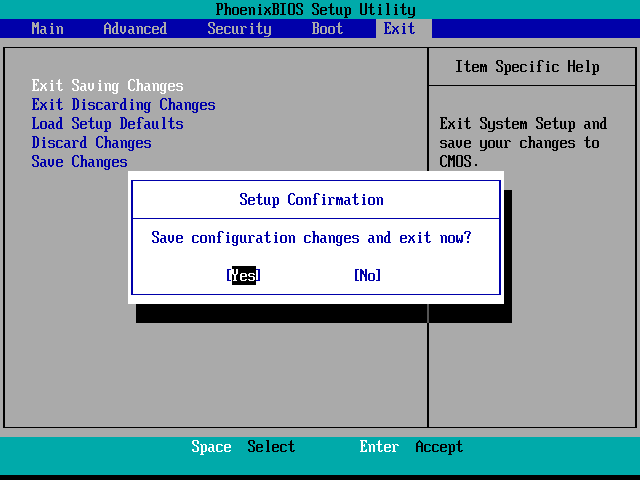
Once you’re done with changing the boot order, use the right arrow key to move to the Exit section of the BIOS. From there, you’ll want to select “Exit Saving Changes” followed by a Yes or “y.”
After this, your computer should be able to restart straight into the Windows installer.
Step 2. Installing Windows 10
After rebooting, you should see the Language select screen. From here, select your desired language, time and currency format, and keyboard input. Then press Next to continue.
On the next screen, press the “Install now” button.
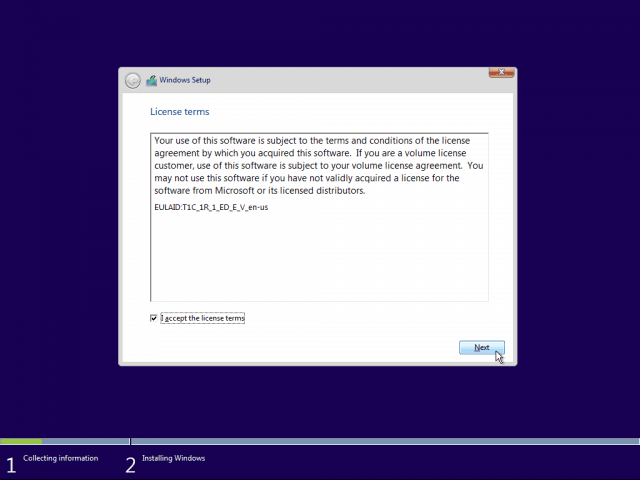
You’ll need to agree to the Microsoft EULA before you can continue. Read it (…or not) and tick the checkbox before pressing “Next.”
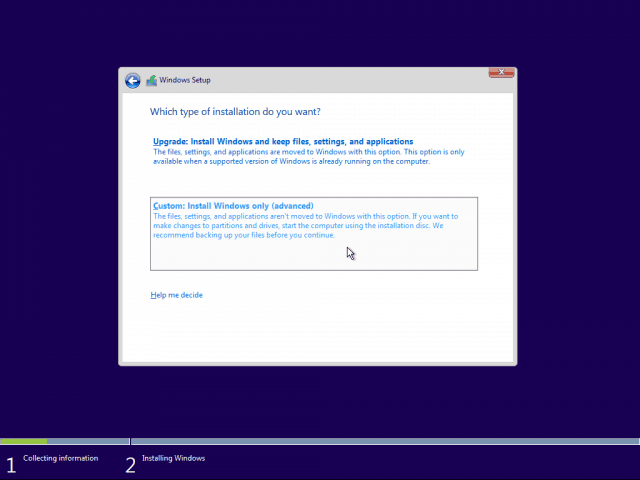
To perform a clean install, you’ll need to select the “Custom: Install Windows only” option. As the installer says — you should have a backup of your files and programs to copy them to the new installation after it’s complete.
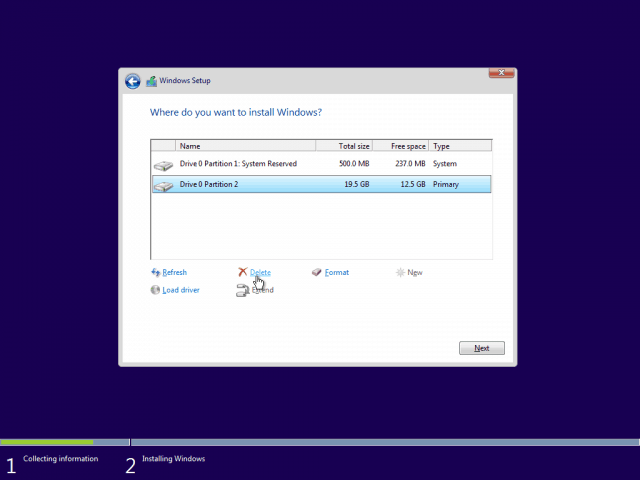
This next part may be a bit tricky if you have multiple hard drives or partitions. You’ll need to delete the primary partition and the system partition. To ensure a 100% clean install, it’s better to fully delete these instead of just formatting them.
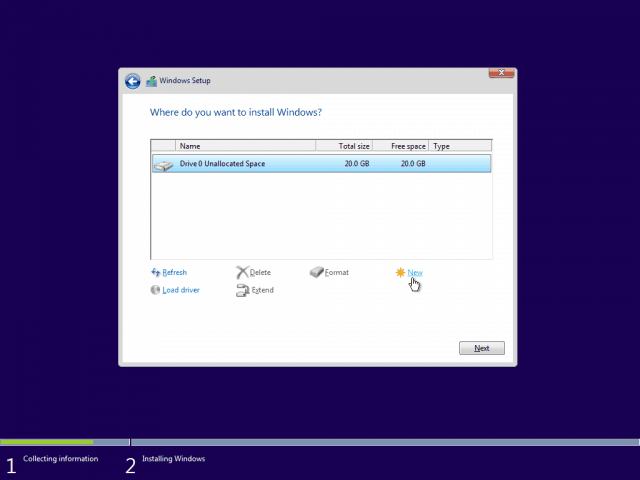
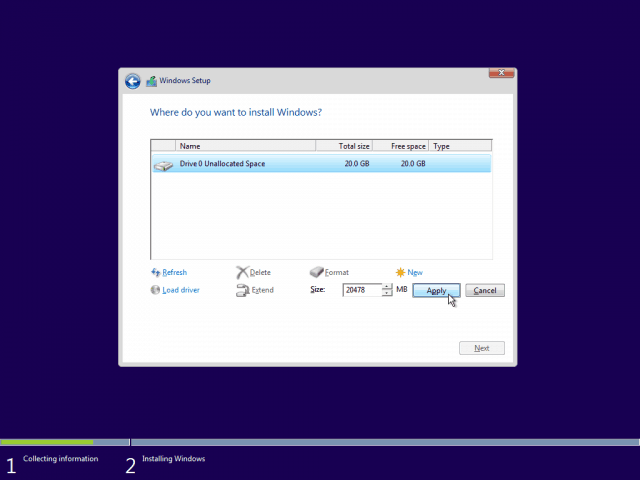
After deleting both partitions, you should be left with some unallocated space. Select it and click the “New” button to create a new partition.
By default, Windows inputs the maximum available space for the partition. I’d advise you to leave the size as-is and press “Apply.”
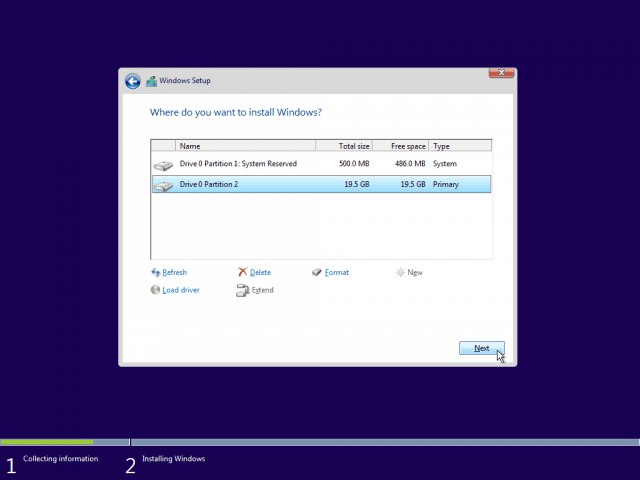
After creating the new partition(s), select the primary one and press “Next.”
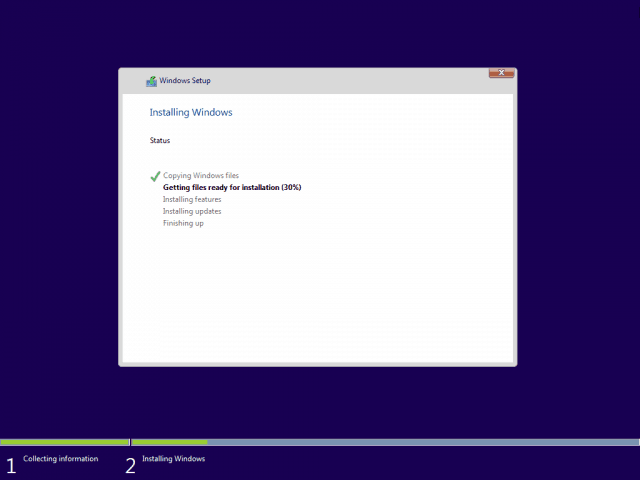
The Windows setup should now begin. Clean installs are usually significantly faster than upgrades, so you should get from this…
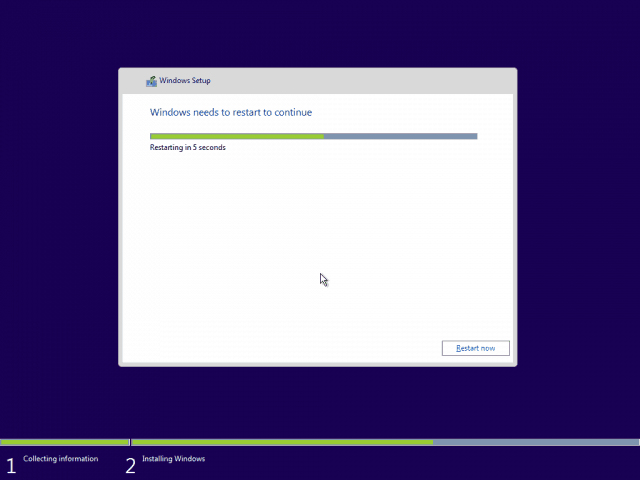
… to this in a matter of minutes.
After “Finishing up,” you will be notified that Windows will now restart.
Step 3. Configuring Windows
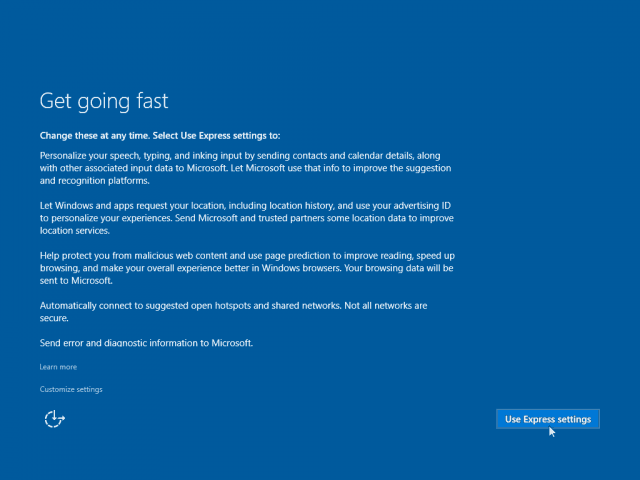
After the reboot, you should be greeted by the following screen. The default Windows 10 settings are excellent and don’t really mess with your privacy, so we advise you to Use Express settings. Optionally, you can also Customize the settings if you insist on turning some features off.
Windows will now go through a few setup procedures.
Once you reach this screen, fill in your new account details and press Next.
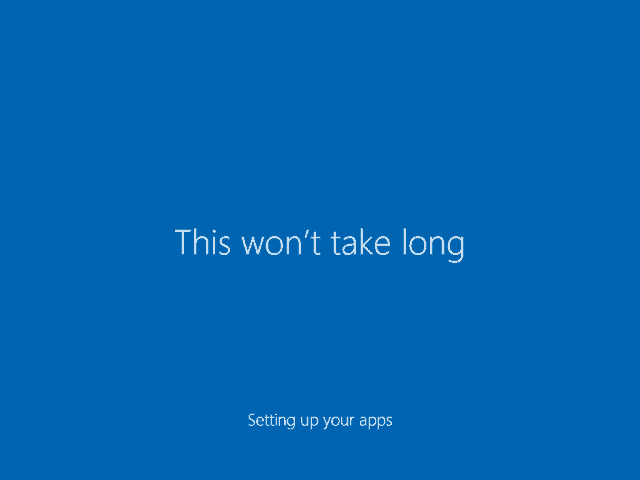
Windows will now go through the final steps of setting up…
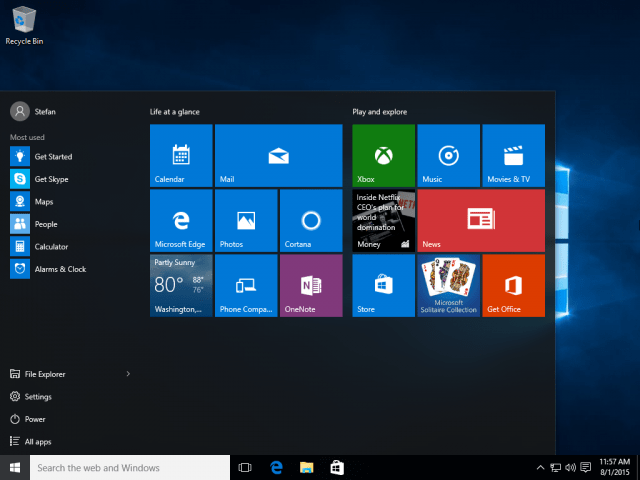
…and will boot straight to the Desktop afterward. Congrats!
What now?
You’ll have a lot to see in Windows 10 – from configuring general settings to checking out the new and exciting features. Here are a few articles you can check out right away:
Windows 10 Tip: Find Apps by First Letter from Start MenuWindows 10 Tip: Add or Remove System Icons to the DesktopWindows 10 Tip: Pin Specific Settings to Start MenuWindows 10 Tip: Pin Websites from Edge Browser to Start MenuWindows 10 Tip: Pin Favorite Music Playlists to Start MenuWindows 10 Tip: Enable and Create a System Restore PointHow to Create Live Tile Groups in Windows 10 Start MenuAdd Gmail and Other Email to Windows 10 Mail & CalendarMake Windows 10 Mail App Sync More FrequentlyWindows 10 Tip: Make Edge Browser Open to Multiple Web PagesHow to Set Default Apps in Windows 10How to Enable Hibernate Mode in Windows 10How to Create a Windows 10 USB Recovery DriveTransfer iTunes Playlists to Windows 10 Music AppMake Windows 10 File Explorer Open to This PC Instead of Quick AccessAdd More Folder Locations to Windows 10 Start Menu
After reading a few things online, I find out (too late of course), that I should have upgraded Windows via Windows Update, then do a clean install. Tried calling Microsoft, they just said wait 2 days, then call back if it still hasn’t activated. Apparently their servers are being inundated and can barely keep up. Wasn’t a problem when I upgraded to Windows 10 using Windows Update on a different laptop. Hopefully Windows 10 will activate automatically, otherwise I’ll have to get back onto Microsoft to see what they can do, or restore Windows 8 and update it, then clean install. Then again, I have heard of people that have done exactly what you did, and, the advice MS gave you is apparently correct…after a couple of days, it will be activated. Also, you can do a clean install of Windows 8.1 or 7 SP1, and then do the upgrade…which is basically a clean install…. Make sure to come back and let us know how things turn out! Comment Name * Email *
Δ Save my name and email and send me emails as new comments are made to this post.


![]()
