Sitting at home all day can get quite boring sometimes, but with a fresh idea like this one, you’ll have something fun to play around with. In this tutorial we’ll show you how to use a fun photography and Photoshop trick to clone any item or person you want! Let’s get started:
You Will Need
A Digital Camera (Point-and-Shoot or DSLR)A TripodA Room with Constant LightingSome Free Time
Taking the Photos
Set up your camera on a tripod. I’ll be using my DSLR and a standard tripod.
Choose a mode that works for the situation. Personally, I avoid full auto and pick aperture priority (A on Nikon, Av on Canon). Full auto will probably pick a shutter speed of at least 1/60, and fire the flash – quite a bad solution for the images we need here. Below are my settings – notice I’m not using a flash and the 1/13 shutter speed is no problem, since we’re using a tripod.
Another good tip would be to use the self-shot option to eliminate vibrations caused when your finger presses the shutter. It’s also useful if you’re doing this by yourself and you have no one to take the photos for you: Find the timer button on your camera.
And then pick the delay you’d like.
Effect Example
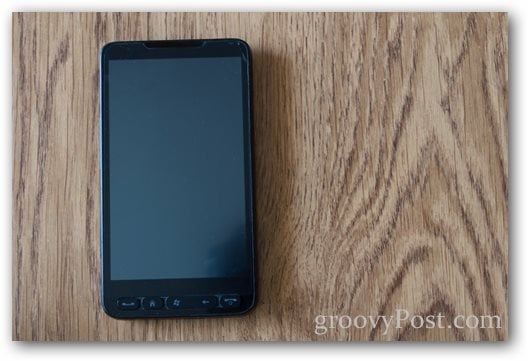
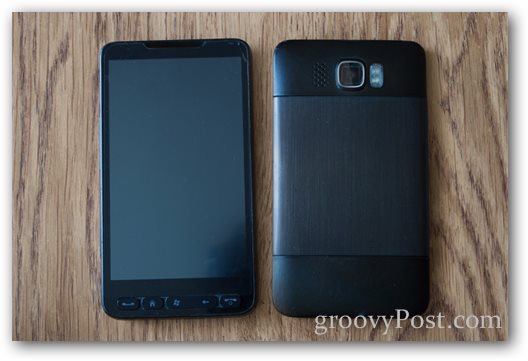
I’ll first demonstrate this with a typical front-and-back image of a mobile phone. I’ll take my first photo and then take the second one, being careful not to make the phones “overlap”:
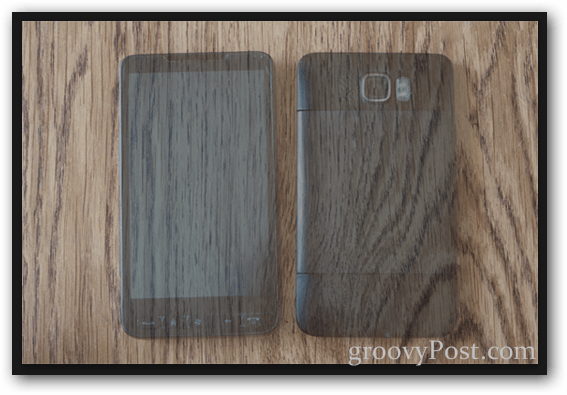
And here’s what my final merged photo looks like:
Merge Two Photos in Photoshop
Step 1 – Importing the Images
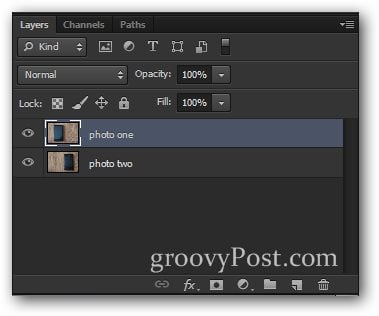
Open up Photoshop and import one of the two images in with a Ctrl+O. Afterwards, place the second image in with File > Place. Make sure you align the photos correctly – you can use any background elements to help aligning the images.
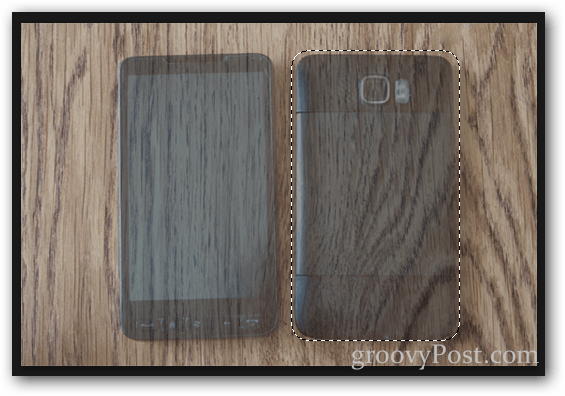
Step 2 – Lowering the Opacity and Making a Selection
Pick the top layer and lower either its Opacity to 50%.
That will leave the image looking something like this:
Now make a selection around the item in the bottom layer. (Tip – you can use any selection tool you like. For this one I used the rectangular marquee with a bit of feathering.)
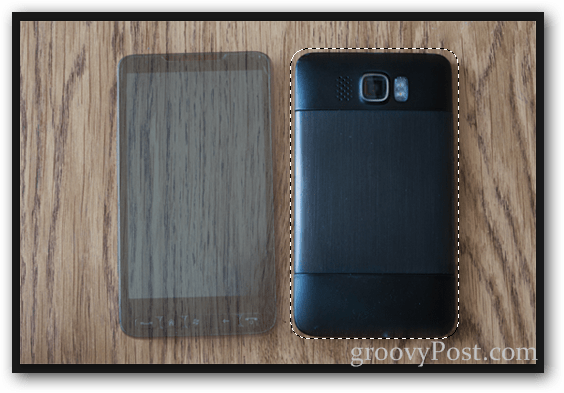
Step 3 – Merging
Now that you have your selection, press the Delete key.
Then increase the Opacity back to 100% for the top layer.
Now all you need is a quick Ctrl + D to deselect and you are ready with the effect!
Bonus Groovy Tip:
Everything about this effect is trial and error (both photography-wise and Photoshop-wise). If you get creative enough, you can come up with something really unique that can impress your friends. I decided to put a new meaning to “arguing with myself”:
Comment Name * Email *
Δ Save my name and email and send me emails as new comments are made to this post.


![]()
