What is a Slack Channel?
Simply put, a Slack channel is a group chat area. You and your team can exchange messages, share files, and use integration tools pertaining to your business. By default, any member of a workspace (except for a guest) can create a channel. However, workspace owners can limit that ability if they wish.
Types of Channels
There are currently four types of Slack channels. The first two below are the most common and available in all plans while the last two are only accessible with paid Slack plans.
Public Channels
A Public channel is the one you’ll see and probably use most in Slack. Any member can join and participate in a Public channel and this type is searchable by everyone. This is where you can communicate company announcements, technical issues, or have conversations unrelated to business like a watercooler. These have the Slack icon next to them in the channel list.
Private Channels
A Private channel is exactly what it sounds like. These are ideal for communications that you don’t want open to all members. Workspace members can only join a Private channel if they are invited. Private channels are useful for department members, project teams, or company executives to have self-contained discussions. These have the padlock icon next to them in the channel list.
Shared Channels
A Shared channel can be used for separate companies to communicate from their own workspaces in a single spot. This type of channel is available with Standard, Plus, and Enterprise Grid paid Slack plans. You could use a Shared channel to communicate with distributors, client companies, or vendors. They can be Public or Private.
Multi-Workspace Channels
A Multi-workspace channel is similar to a Shared channel but connects workspaces together rather than a single channel. This option is only available with the Enterprise Grid paid Slack plan. Multi-workspace channels are appropriate for chatting with members of your sister company or subsidiary. They can be Public or Private.
Create a Slack Channel
When you set up a new channel in Slack, you’ll choose whether you want a Public or Private channel.
Set a Channel Topic
After you create a channel, you can set a topic if you like. While a channel description refers to the intent of the channel, a topic can be more specific such as project dates or deadlines. Click Add a topic at the very top of the channel screen, enter the topic, and click Set Topic.
You do not have to set a channel topic and you can add one later if you prefer.
Join a Channel
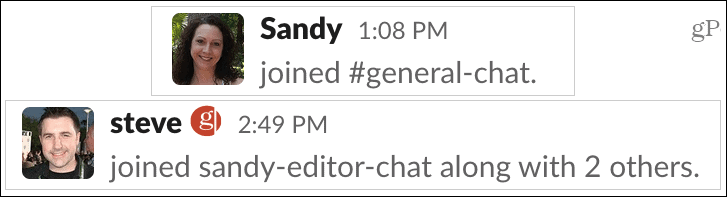
You can join any Public channel you see in your list or by using the Channel Browser. Simply select the channel and you’re in! Everyone in that channel can see when newbies join. If you are invited to a Private channel, you’ll receive a Slack notification. Just click it and you’re then a member of that Private channel. If more than one person joins a channel around the same time, you may see something like “Steve joined along with 2 others” as in the screenshot below.
Invite Members to a Private Channel
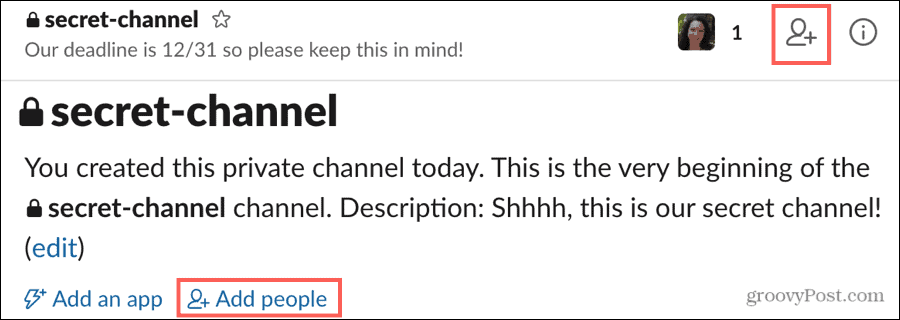
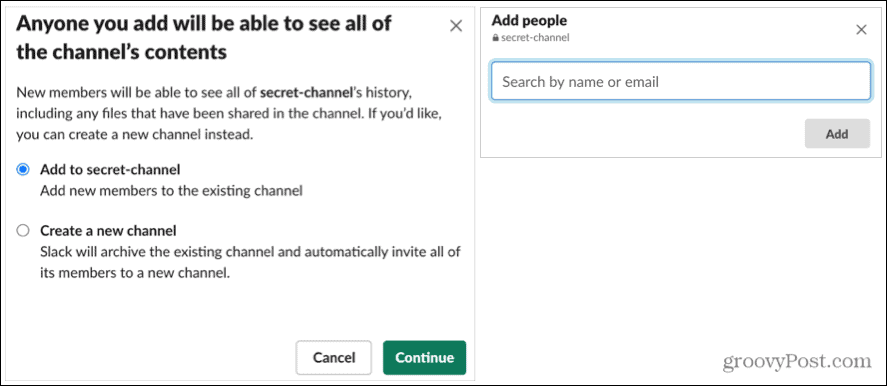
If you create a Private channel, you’re in charge of inviting those members you want to join. You can do this during the initial creation process by entering the member names or emails.
Or, you can invite members later if you click Skip for now during the setup. Plus, you can add other people to your Private channel any time you like.
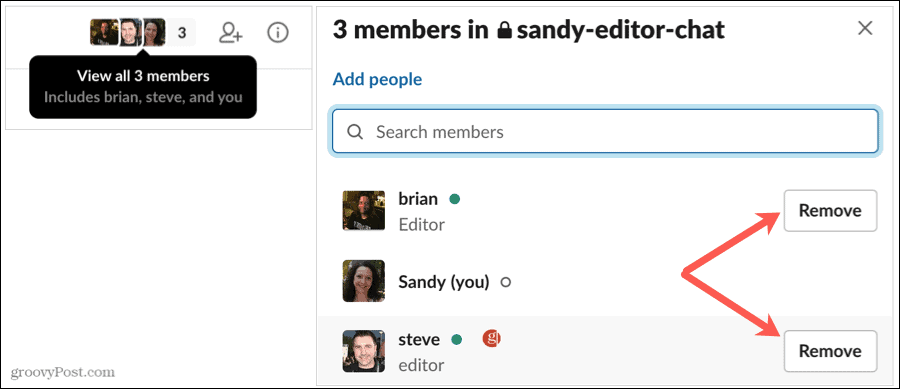
Remove Members From a Channel
If you need to remove someone you invited to a private channel, this is even easier than adding them. Click the View all members icon(s) at the top and click Remove next to the member you want to remove.
Edit a Channel
Once you create a channel, you can make a few changes to it if necessary. This includes changing the description or topic, renaming a channel, or converting it to a Private channel if it’s Public. You have a couple of different spots for making these edits, so pick the one easiest for you. Select the channel in the Slack sidebar to display it. Then do one of the following:
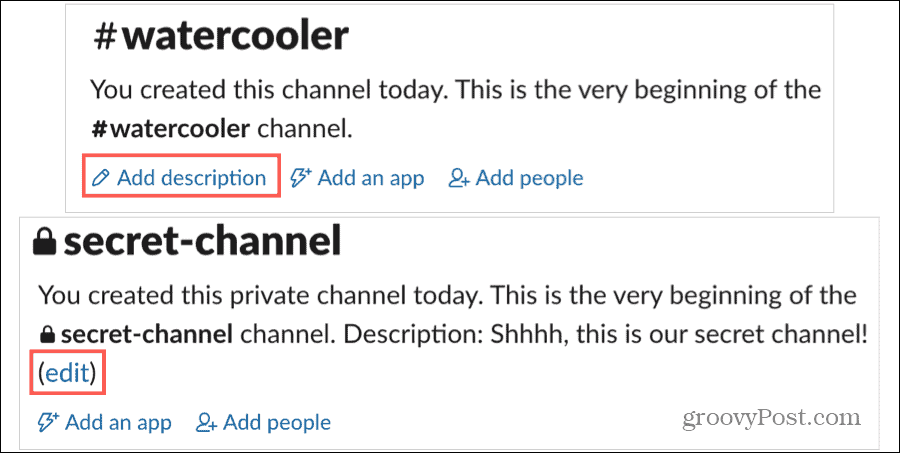
Add or Change the Description
If the channel has a description that you want to change, click Edit at the top. If it doesn’t have a description, you can add one by clicking Add description.Click the Show channel details icon (small letter “i”) on the top right, select More, and pick Additional options. Choose Set the channel description.Right-click the channel in the sidebar, select Additional options, and pick Set the channel description.
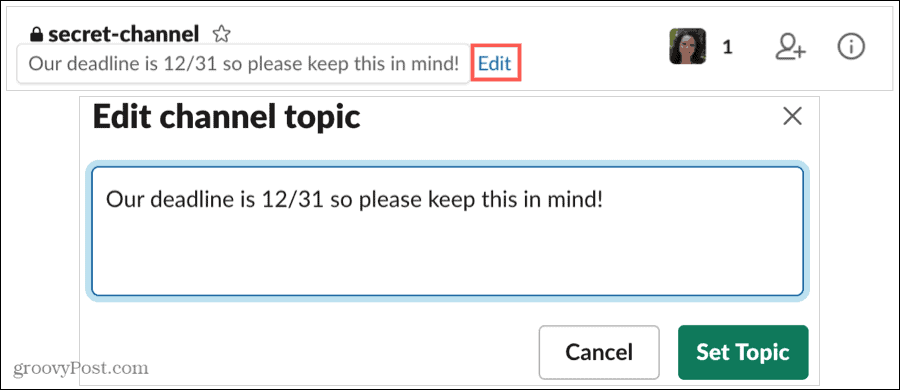
Add or Change the Topic
If the channel doesn’t have a topic, click Add a topic at the top of the screen.If the channel has a topic that you want to change, click Edit next to the topic at the top.
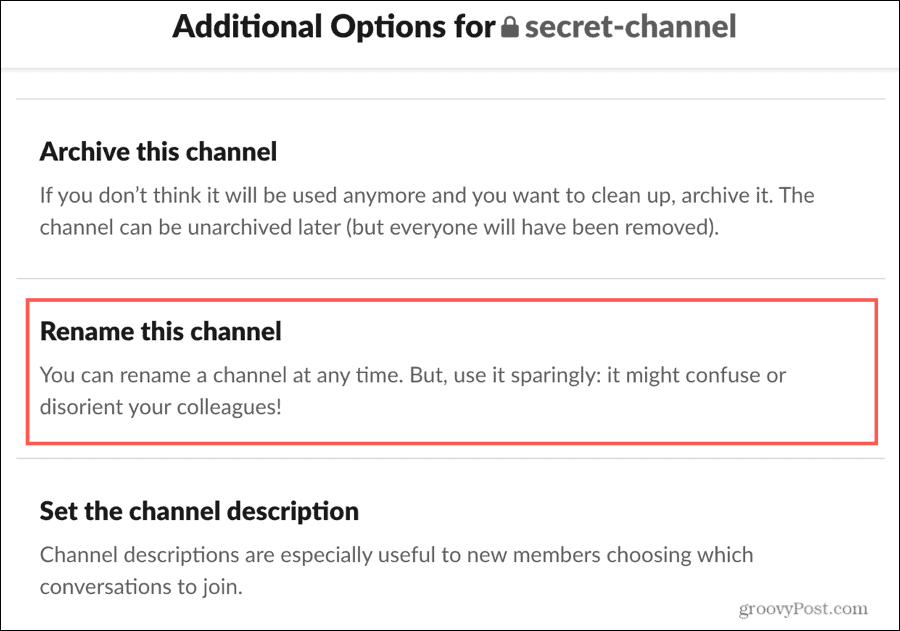
Rename a Channel
Click the Show channel details icon on the top right, select More, and pick Rename channel.Right-click the channel in the sidebar, select Additional options, and pick Rename this channel.
Convert a Channel to From Public to Private
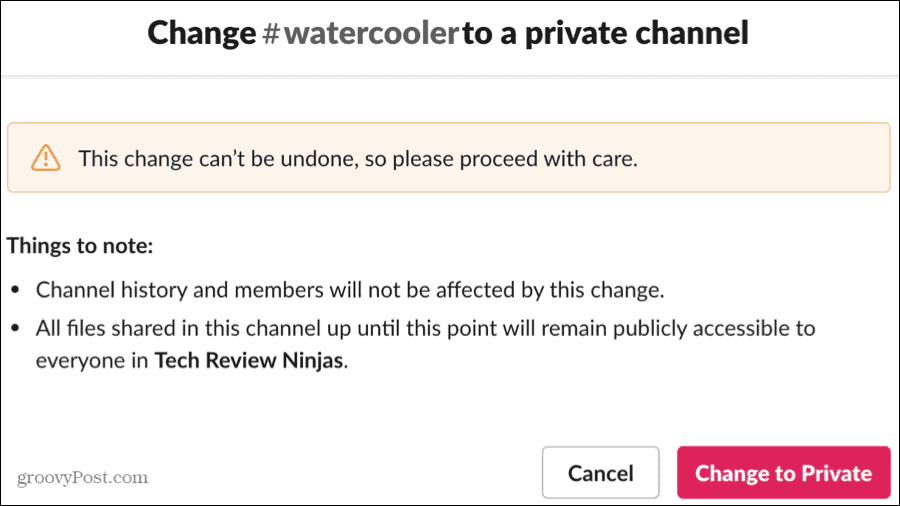
Click the Show channel details icon on the top right, select More, and pick Additional options. Choose Change to a private channel.Right-click the channel in the sidebar, select Additional options, and pick Change to a private channel.
You cannot undo this action. So be sure you want to convert the Public channel to a Private one and click Change to Private if you’re ready.
Archive or Delete a Channel
If you no longer need a channel, you can either archive or delete it. By archiving it, you’ll retain the messages and can unarchive it later if you decide to use it again. By deleting it, you’ll permanently remove all of its messages but will retain any files that were shared.
Archive a Channel
Click the Show channel details icon on the top right, select More, and pick Additional options. Choose Archive this channel. Confirm by clicking Yes, archive this channel.
Delete a Channel
Click the Show channel details icon on the top right, select More, and pick Additional options. Choose Delete this channel. Check the box for Yes, permanently delete this channel and click the Delete Channel button.
Tune in to Your Slack Channels
You have a lot of flexibility in managing your Slack channels. From creating to editing to archiving, you have different ways to do what you need and an easy interface to do it. For more on working remotely, check out these ways to work more effectively from home.


![]()
